Hiển thị TableView Cell với hiệu ứng trong Swift
Bài đăng này đã không được cập nhật trong 7 năm
Giới thiệu
Trong lập trình ứng dụng, animation là 1 trong những yếu tố chính tạo ra sự khác biệt trong trải nghiệm người dùng. Gần như chắc chắn rằng mỗi một lập trình viên iOS đều sử dụng TableView trong ứng dụng của mình. Với việc được sử dụng rộng rãi như vậy, việc tạo ra những hiệu ứng hiển thị bắt mắt có thể giúp tăng trải nghiệm người dùng một cách đáng kể. Chỉ với một vài dòng code, ta đã có thể thổi một luồng gió mới cho ứng dụng của chúng ta.
Bắt đầu
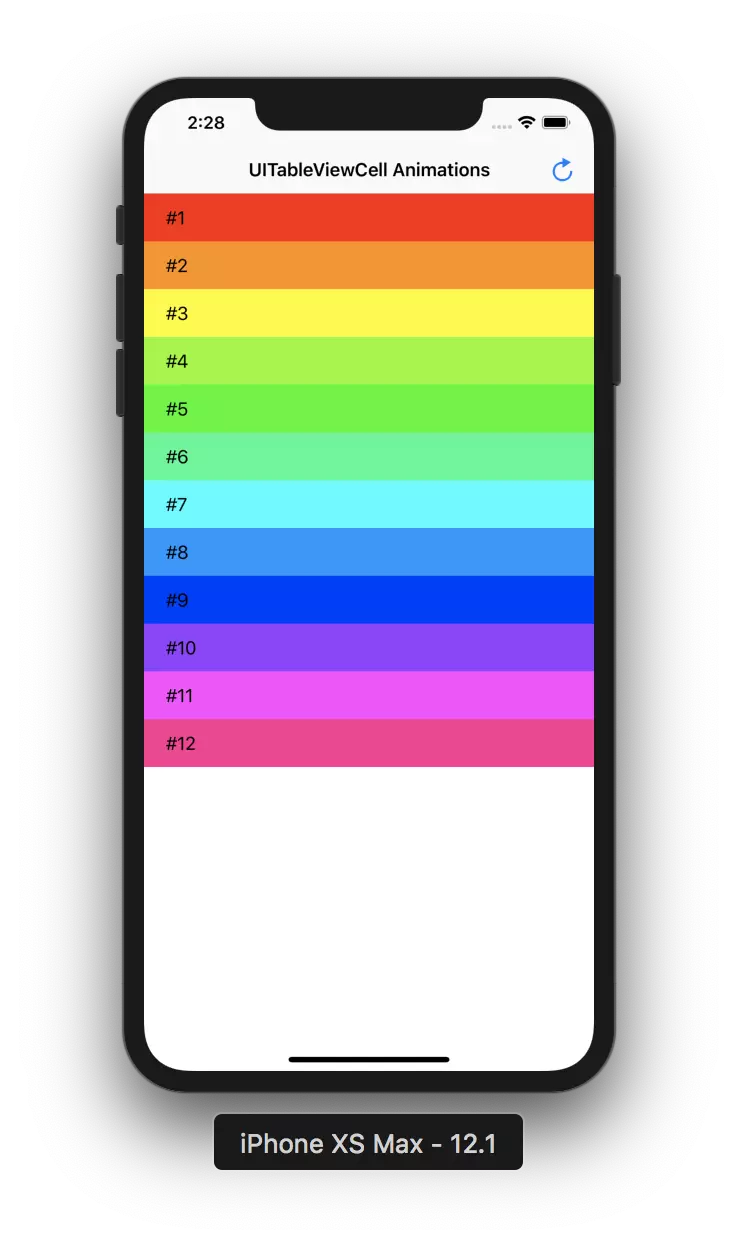
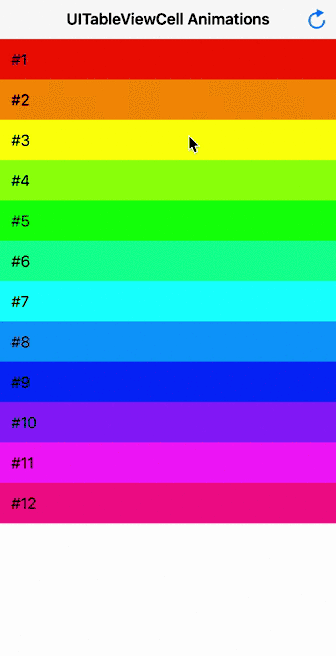
Đầu tiên, download starter project tại đây để không tốn nhiều thời gian cho việc dựng giao diện mẫu là khởi tạo project. Chạy thử nó, ta sẽ chỉ thấy các static UITableView thông thường.
Mở file TableViewController.swift, ta sẽ thấy một số method phục vụ cho công việc mà chút nữa chúng ta sẽ thực hiện ở phần sau:
@IBAction func onRefresh(_ sender: UIBarButtonItem) {
    // Refresh table view here
}

override func tableView(_ tableView: UITableView, willDisplay cell: UITableViewCell, forRowAt indexPath: IndexPath) {
    // Add animations here
}
Method onRefresh bắt sự kiện khi người dùng ấn vào navigation bar button ở góc cao bên phải màn hình. Sau đó ta vẽ viết code cho việc tạo kích hoạt animation, hiện tại ta chưa viết gì vào trong hàm này.
Mọi thao tác sẽ được xử lý trong method tableView(_:,willDisplay:,forRowAt:). Ta sẽ thêm một vài animation đơn giản ở đây.
Cài đặt animation đơn giản
Hãy bắt đầu với một hiệu ứng làm mờ đơn giản. UIVIew có sẵn một method cho phép chúng tạo ra hiệu ứng giữa các view,
Thêm đoạn code sau vào method tableView(_:,willDisplay:,forRowAt:):
cell.alpha = 0

UIView.animate(
    withDuration: 0.5,
    delay: 0.05 * Double(indexPath.row),
    animations: {
        cell.alpha = 1
})
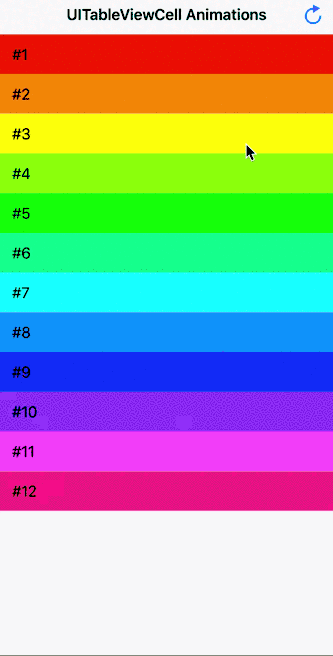
Chạy thử project để cảm nhận kết quả:
Một số animation phức tạp hơn
Điều đầu tiên ta cần làm là định nghĩa kiểu cho Animation thông qua một closure cơ bản với một vài tham số đầu vào:
typealias Animation = (UITableViewCell, IndexPath, UITableView) -> Void
Tạo một class Animator để xử lý việc chạy animation. Nó đồng thời cũng kiểm soát việc animation chỉ chạy một lần duy nhất với tất cả các cell.
final class Animator {
    private var hasAnimatedAllCells = false
    private let animation: Animation

    init(animation: @escaping Animation) {
        self.animation = animation
    }

    func animate(cell: UITableViewCell, at indexPath: IndexPath, in tableView: UITableView) {
        guard !hasAnimatedAllCells else {
            return
        }

        animation(cell, indexPath, tableView)

        hasAnimatedAllCells = tableView.isLastVisibleCell(at: indexPath)
    }
}
Giờ ta cần chỉnh sửa animation một cách linh hoạt nhất có thể. Để làm được việc đó, tạo một enum AnimationFactory để tạo ra animation. Ta viết hàm khởi tạo animation làm mờ đã thực hiện ở phần trên trong enum này:
enum AnimationFactory {
    static func makeFadeAnimation(duration: TimeInterval, delayFactor: Double) -> Animation {
        return { cell, indexPath, _ in
            cell.alpha = 0

            UIView.animate(
                withDuration: duration,
                delay: delayFactor * Double(indexPath.row),
                animations: {
                    cell.alpha = 1
            })
        }
    }
}
Thay thế đoạn code cũ trong TableViewController bằng cách khởi tạo mới :
override func tableView(_ tableView: UITableView, willDisplay cell: UITableViewCell, forRowAt indexPath: IndexPath) {
    let animation = AnimationFactory.makeFadeAnimation(duration: 0.5, delayFactor: 0.05)
    let animator = Animator(animation: animation)
    animator.animate(cell: cell, at: indexPath, in: tableView)
}
Cuối cùng ta thêm sự kiện reload cho TableView:
@IBAction func onRefresh(_ sender: UIBarButtonItem) {
    tableView.reloadData()
}
Bounce animation
UIKit là một thư viện giao diện mạnh mẽ, nó cho phép chúng ta định nghĩa bound animation bằng một method duy nhất. Lưu ý rằng ta để tất cả các đoạn code về animation ở trong AnimationFactory:
static func makeMoveUpWithBounce(rowHeight: CGFloat, duration: TimeInterval, delayFactor: Double) -> Animation {
    return { cell, indexPath, tableView in
        cell.transform = CGAffineTransform(translationX: 0, y: rowHeight)

        UIView.animate(
            withDuration: duration,
            delay: delayFactor * Double(indexPath.row),
            usingSpringWithDamping: 0.4,
            initialSpringVelocity: 0.1,
            options: [.curveEaseInOut],
            animations: {
                cell.transform = CGAffineTransform(translationX: 0, y: 0)
        })
    }
}
Một số thuộc tính trong animation:
usingSpringWithDamping: Độ nảy của animation. Có giá trị bằng 1 để không có độ nảy và giá trị gần đến 0 để tăng độ dao động.initialSpringVelocity: Giá trị khoảng cách di truyển của animation trong 1 giây, có giá trị tối đa bằng 1.options- Các tùy chọn cho animation. Ta sử dụng .curveEaseInOut để animation khởi đầu chậm, tăng tốc khi đến giai đoạn giữa rồi lại chậm lại cho đến khi kết thúc.
Thêm đoạn code sau vào trong TableViewController:
let animation = AnimationFactory.makeMoveUpWithBounce(rowHeight: cell.frame.height, duration: 1.0, delayFactor: 0.05)
let animator = Animator(animation: animation)
animator.animate(cell: cell, at: indexPath, in: tableView)
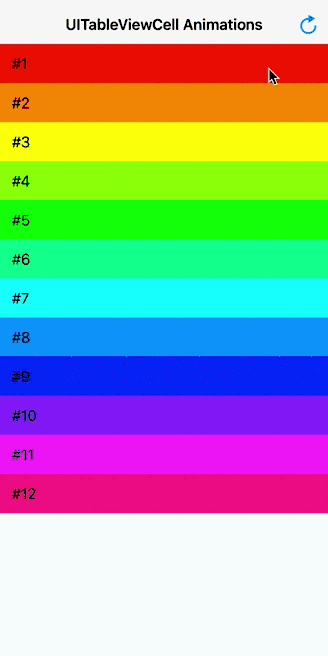
Animation sẽ trông như sau:
Move and Fade Animation
Animation tiếp theo mà chúng ta đề cập đến sẽ làm 2 điều: Di chuyển TableViewCell đồng thời làm chúng dần hiện ra đậm hơn. Để làm được điều này ta sử dụng cả 2 thuộc tính transform và alpha của TableViewCell.
static func makeMoveUpWithFade(rowHeight: CGFloat, duration: TimeInterval, delayFactor: Double) -> Animation {
    return { cell, indexPath, _ in
        cell.transform = CGAffineTransform(translationX: 0, y: rowHeight / 2)
        cell.alpha = 0

        UIView.animate(
            withDuration: duration,
            delay: delayFactor * Double(indexPath.row),
            options: [.curveEaseInOut],
            animations: {
                cell.transform = CGAffineTransform(translationX: 0, y: 0)
                cell.alpha = 1
        })
    }
}
Thêm các đoạn code sau vào TableViewController như ta đã làm ở phần trên:
let animation = AnimationFactory.makeMoveUpWithFade(rowHeight: cell.frame.height, duration: 0.5, delayFactor: 0.05)
let animator = Animator(animation: animation)
animator.animate(cell: cell, at: indexPath, in: tableView)
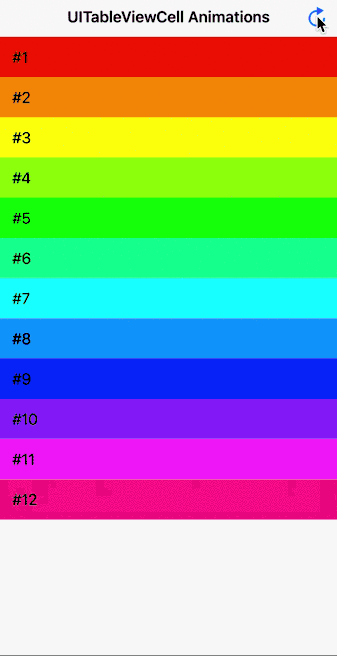
Chạy ứng dụng, animation sẽ hiển thị như sau:
Slide in Animation
Slide in animation di chuyển các cell từ cạnh phải của màn hình đến vị trí của chúng trong TableView. Ta sử dụng thuộc tính transform của TableViewCell để làm điều này. Thêm đoạn code sau vào AnimationFactory:
static func makeSlideIn(duration: TimeInterval, delayFactor: Double) -> Animation {
    return { cell, indexPath, tableView in
        cell.transform = CGAffineTransform(translationX: tableView.bounds.width, y: 0)

        UIView.animate(
            withDuration: duration,
            delay: delayFactor * Double(indexPath.row),
            options: [.curveEaseInOut],
            animations: {
                cell.transform = CGAffineTransform(translationX: 0, y: 0)
        })
    }
}
Tiếp theo, ta sử dụng animation trong TableViewController:
let animation = AnimationFactory.makeSlideIn(duration: 0.5, delayFactor: 0.05)
let animator = Animator(animation: animation)
animator.animate(cell: cell, at: indexPath, in: tableView)
Và đây là thành quả:
Kết luận
Animation có một chỗ đứng quan trọng trong việc tạo nên một trải nghiệm người dùng tốt với mỗi ứng dụng iOS. TableView là một trong những công cụ được các lập trình viên sử dụng nhiều nhất trong iOS, do đó, việc tạo nên những animation hiển thị cell đẹp mắt có thể nâng cao đáng kể trải nghiệm người dùng đối với sản phẩm của họ. Giải pháp tái sử dụng code mà chúng ta đưa ra trong bài ngày hôm nay giúp chúng ta có thể dễ dàng mở rộng, áp dụng nhiều animation vào ứng dụng iOS của chúng ta.
Tài liệu tham khảo
http://www.vadimbulavin.com/tableviewcell-display-animation/
All rights reserved
