Google auth rails
Bài đăng này đã không được cập nhật trong 4 năm
Giới thiệu
Ngày nay việc tích hợp mạng xã hội vào website đang ngày càng phổ biến . Chính vì thế việc cho phép người dùng đăng kí , đăng nhập qua mạng xã hội là điều rất cần thiết và nó cũng giúp người dùng rất tiện lợi trong việc đăng kí hoặc đăng nhập sử dụng hệ thống với chỉ một nút bấm .
- Mình sẽ sử dụng gem "omniauth-google_oauth2" để thực hiện chức năng đăng kí bằng tài khoản google cho ứng dụng rails
Cài đặt
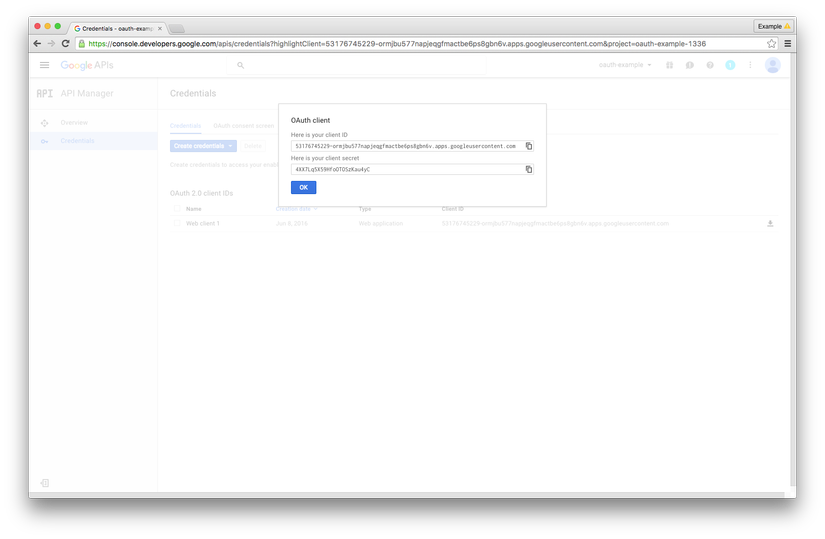
Trước hết bạn cần phải đăng kí và sử dụng google apis tại : https://console.developers.google.com . Hãy tạo một ứng dụng của bạn .Các bước tạo ứng dụng bạn có thể tham khảo thêm tại : https://richonrails.com/articles/google-authentication-in-ruby-on-rails/ . Sau khi hoàn thành google sẽ trả về cho bạn 2 giá trị
 Bạn nên lưu lại 2 giá trị này .
Sau đó bạn thêm gem "omniauth-google_oauth2"
gem "omniauth-google_oauth2"
Và chạy lệnh bundle install.
- Bước tiếp theo trong file **config/initializers/omniauth.rb ** . Bạn chỉnh lại như sau
OmniAuth.config.logger = Rails.logger

Rails.application.config.middleware.use OmniAuth::Builder do
  provider :google_oauth2, 'my Google client id', 'my Google client secret', {client_options: {ssl: {ca_file: Rails.root.join("cacert.pem").to_s}}}
end
Với 'my Google client id' và 'my Google client secret' là 2 giá trị bạn lưu lại vừa xong khi tạo tài khoản google .
Thêm các trường trong csdl để lưu lại thông tin của người đăng nhập và sử dụng chức năng đăng nhập của google
rails g model user provider uid name oauth_token oauth_expires_at:datetime
rails db:migrate
Ok ! Giờ chúng ta cần chỉnh một chút trong file routes nữa
 get 'auth/:provider/callback', to: 'sessions#create'
 get 'auth/failure', to: redirect('/')
 get 'signout', to: 'sessions#destroy', as: 'signout'
Trong app/models/user.rb
class User < ActiveRecord::Base
  def self.from_omniauth(auth)
    where(provider: auth.provider, uid: auth.uid).first_or_initialize.tap do |user|
      user.provider = auth.provider
      user.uid = auth.uid
      user.name = auth.info.name
      user.oauth_token = auth.credentials.token
      user.oauth_expires_at = Time.at(auth.credentials.expires_at)
      user.save!
    end
  end
end
Mã này sẽ lấy dữ liệu mà Google trả về và giữ nó vào cơ sở dữ liệu. Nếu người dùng không tồn tại, một người dùng mới sẽ được tạo, nếu không, người dùng hiện tại sẽ được cập nhật.
Trong SessionController bạn chỉnh lại như sau
class SessionsController < ApplicationController
  def create
    user = User.from_omniauth(env["omniauth.auth"])
    session[:user_id] = user.id
    redirect_to root_path
  end

  def destroy
    session[:user_id] = nil
    redirect_to root_path
  end
end
hàm create sẽ gọi đến hàm mà chúng ta vừa khai báo trong model User . Và khởi tạo session user_id để lưu lại id người dùng .Ngoài ra bạn có thể tạo hàm
 def current_user
    @current_user ||= User.find(session[:user_id]) if session[:user_id]
  end
Để lấy thông tin user khi cần . -Bước tiếp theo là tạo view :
<div>
      <% if current_user %>
        Signed in as <strong><%= current_user.name %></strong>!
        <%= link_to "Sign out", signout_path, id: "sign_out" %>
      <% else %>
        <%= link_to "Sign in with Google", "/auth/google_oauth2", id: "sign_in" %>
      <% end %>
    </div>
    <div>
    </div>
Với việc sử dụng hàm current_user sẽ kiểm tra bạn đã đăng nhập chưa , nếu chưa sẽ đưa ra link "Sign in with Google" , còn nếu đăng nhập rồi sẽ đưa ra link "Sign out"
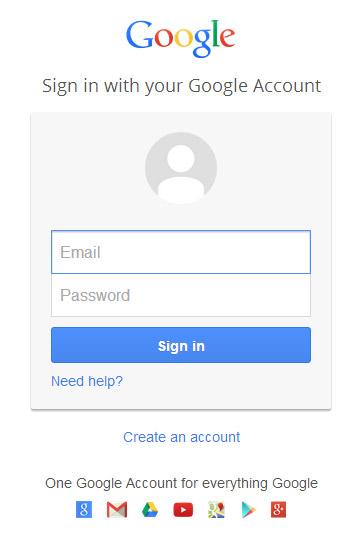
Kết quả
 Chúc bạn thành công
All rights reserved