Getting Started With RxSwift and RxCocoa : Observable and the Bind
Bài đăng này đã không được cập nhật trong 4 năm
Getting Started With RxSwift and RxCocoa : Observable and the Bind
Ở phần trước, chúng ta đã tìm hiểu và có cái nhìn cơ bản về RxSwift và RxCocoa, lần này chúng ta sẽ mở rộng them kiến thức về reactive, trong bài này chúng ta sẽ tìm hiểu về bindings. Binding đơn giản là việc kết nối các Observables và Subjects
Một số khái niệm
Trước tiên chúng ta sẽ tìm hiểu 1 số khái niệm định nghĩa sẽ được sử dụng
Subject: là 1 đối tượng mà vừa là Observalbe vừa là Observer, tức là nó vừa quan sát, vừa phát tín hiệu.
BehaviorSubject: khi mà ta subscribe tới đối tượng này ta sẽ lấy được thông tin gần nhất của Subject đó, và các giá trị thay đổi của Subject sau đó.
PublishSubject: khi subscribe tới đối tượng này thì chỉ có thể nhận được giá trị của đối tượng thay đổi kể từ thời điểm subscription
ReplaySubject: khi subscribe tới đối tượng này ta sẽ có thể lấy được cả giá trị trước thời điểm subscription lẫn thời điểm sau subscription, số lượng giá trị có thể nhận được phụ thuộc vào buffer size của ReplaySubject mà ta subscribe
Variable: warapper của BehaviorSubject
Ví dụ:
 Chúng ta sẽ tạo 1 app đơn giản kết nối màu sắc quả bóng với vị trí của nó ở trên view đồng thời chúng ta cũng sẽ thay đổi màu background của view với màu của quả bóng.
Trước tiên ta sẽ tạo project như tạo ở hướng dẫn lần trước, ta cũng sẽ tạo CocoaPods để cài đặt RxSwift, RxCocoa, Chameleon – thư viện để lấy màu sắc.
File Podfile sẽ như sau:
platform :ios, '9.0'
use_frameworks!

target 'ColourfulBall' do

pod 'RxSwift'
pod 'RxCocoa'
pod 'ChameleonFramework/Swift', :git => 'https://github.com/ViccAlexander/Chameleon.git'

end

post_install do |installer|
    installer.pods_project.targets.each do |target|
        target.build_configurations.each do |config|
              config.build_settings['ENABLE_TESTABILITY'] = 'YES'
              config.build_settings['SWIFT_VERSION'] = '3.0'
        end
    end
end
Let’s start coding. Trước tiên ta vẽ vòng tròn ở trong main view của viewcontroller.
import ChameleonFramework
import UIKit
import RxSwift
import RxCocoa

class ViewController: UIViewController {

    var circleView: UIView!

    override func viewDidLoad() {
        super.viewDidLoad()
        setup()
    }

    func setup() {
        // Add circle view
        circleView = UIView(frame: CGRect(origin: view.center, size: CGSize(width: 100.0, height: 100.0)))
        circleView.layer.cornerRadius = circleView.frame.width / 2.0
        circleView.center = view.center
        circleView.backgroundColor = .green
        view.addSubview(circleView)
    }
}
Đoạn code trên đơn giản là tạo 1 view quả bóng hình tròn, tiếp theo ta sẽ thực hiện di chuyển cho quả bóng này:
func setup() {
    // Add circle view
    circleView = UIView(frame: CGRect(origin: view.center, size: CGSize(width: 100.0, height: 100.0)))
    circleView.layer.cornerRadius = circleView.frame.width / 2.0
    circleView.center = view.center
    circleView.backgroundColor = .green
    view.addSubview(circleView)

    // Add gesture recognizer
    let gestureRecognizer = UIPanGestureRecognizer(target: self, action: #selector(circleMoved(_:)))
    circleView.addGestureRecognizer(gestureRecognizer)
}

func circleMoved(_ recognizer: UIPanGestureRecognizer) {
    let location = recognizer.location(in: view)
    UIView.animateWithDuration(0.1) {
        self.circleView.center = location
    }
}
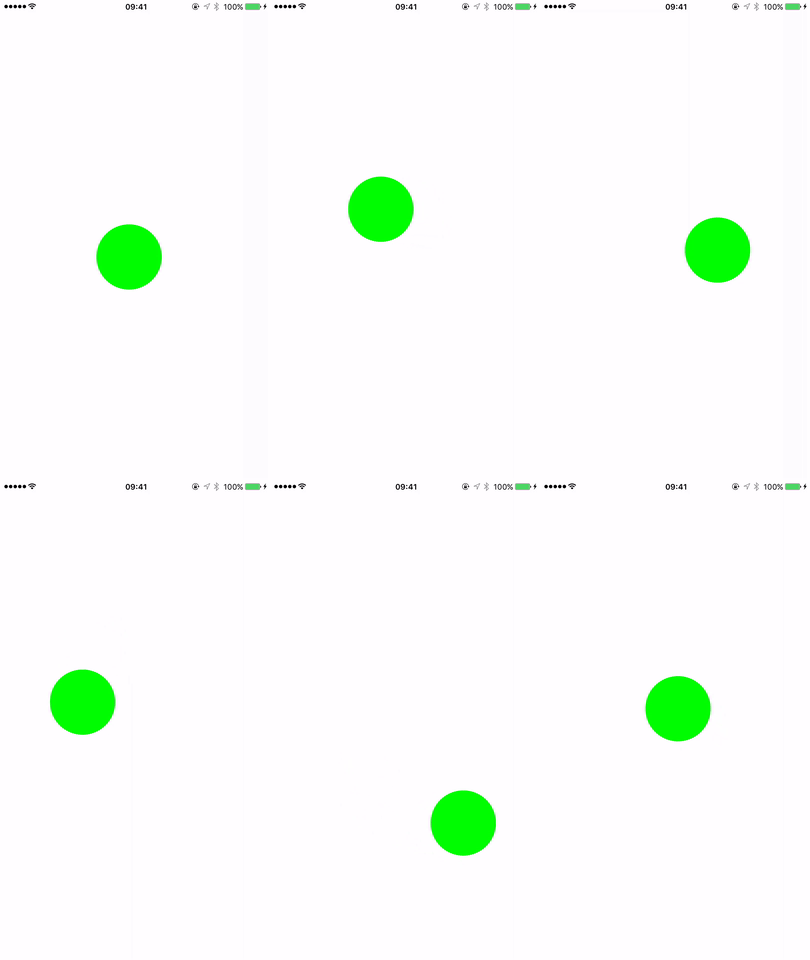
Build and run: app sẽ chạy như sau

Tiếp theo chúng ta sẽ bind một số thứ. Ta sẽ kết nối vị trí của bóng với màu của nó. Trước tiên ta sẽ observe vị trí center của bóng sử dụng rx.observe() sau đó bind nó tới 1 Variable sử dụng bindTo(). Mỗi khi giá trị position của quả bóng thay đổi thì variable sẽ nhận được giá trị thay đổi này. Trong trường hợp này variable chính là 1 Observer vì nó quan sát giá trị thay đổi của position. Chúng ta sẽ tạo variable này trong ViewModel, cái mà sẽ được sử dụng để tính toán ra UI, mỗi khi variable này có giá trị position mới ta sẽ tính toán ra giá trị màu sắc mới của background của quả bóng. Bây giờ ta sẽ tạo ViewModel gồm 1 properties: centerVariable dùng để quan sát và phát tín hiệu, backgroundColorObservable: thuộc tính này chỉ là Observable ViewModel của chúng ta sẽ như sau:
import ChameleonFramework
import Foundation
import RxSwift
import RxCocoa

class CircleViewModel {

    var centerVariable = Variable<CGPoint?>(.zero) // Create one variable that will be changed and observed
    var backgroundColorObservable: Observable<UIColor>! // Create observable that will change backgroundColor based on center

    init() {
        setup()
    }

    setup() {
    }
}
Bây giờ ta sẽ setup giá trị cho backgroundColorObservable, chúng ta mong muốn nó thay đổi giá trị theo CGPoint của centerVariable.
func setup() {
    // When we get new center, emit new UIColor
    backgroundColorObservable = centerVariable.asObservable()
        .map { center in
            guard let center = center else { return UIColor.flatten(.black)() }

            let red: CGFloat = ((center.x + center.y) % 255.0) / 255.0 // We just manipulate red, but you can do w/e
            let green: CGFloat = 0.0
            let blue: CGFloat = 0.0

            return UIColor.flatten(UIColor(red: red, green: green, blue: blue, alpha: 1.0))()
        }
}
Step by step:
- Chuyển variable thành Observable => Variable có thể vừa là Observer hay Observable, vì ta cần observe tới nó nên ta sẽ transform nó thành Observable.
- Chuyển đổi mỗi giá trị mới của CGPoint thành UIColor
- Trong trường hợp nil thì sẽ trả về màu mặc định Bây giờ ta đã có Observable phát ra thông báo thay đổi màu nền quả bóng. Bây giờ chúng ta cần update quả bóng dựa theo giá trị mới này. Ta sẽ subscribe() tới Observable
// Subscribe to backgroundObservable to get new colors from the ViewModel.
circleViewModel.backgroundColorObservable
    .subscribe(onNext: { [weak self] backgroundColor in
        UIView.animateWithDuration(0.1) {
            self?.circleView.backgroundColor = backgroundColor
            // Try to get complementary color for given background color
            let viewBackgroundColor = UIColor(complementaryFlatColorOf: backgroundColor)
            // If it is different that the color
            if viewBackgroundColor != backgroundColor {
                // Assign it as a background color of the view
                // We only want different color to be able to see that circle in a view
                self?.view.backgroundColor = viewBackgroundColor
            }
        }
    })
    .addDisposableTo(disposeBag)
Ta sẽ add đoạn code trên vào hàm setup() như sau:
func setup() {
    // Add circle view
    circleView = UIView(frame: CGRect(origin: view.center, size: CGSize(width: 100.0, height: 100.0)))
    circleView.layer.cornerRadius = circleView.frame.width / 2.0
    circleView.center = view.center
    circleView.backgroundColor = .green
    view.addSubview(circleView)

    circleViewModel = CircleViewModel()
    // Bind the center point of the CircleView to the centerObservable
    circleView
        .rx.observe(CGPoint.self, "center")
        .bindTo(circleViewModel.centerVariable)
        .addDisposableTo(disposeBag)

    // Subscribe to backgroundObservable to get new colors from the ViewModel.
    circleViewModel.backgroundColorObservable
        .subscribe(onNext: { [weak self] backgroundColor in
            UIView.animateWithDuration(0.1) {
                self?.circleView.backgroundColor = backgroundColor
                // Try to get complementary color for given background color
                let viewBackgroundColor = UIColor(complementaryFlatColorOf: backgroundColor)
                // If it is different that the color
                if viewBackgroundColor != backgroundColor {
                    // Assign it as a background color of the view
                    // We only want different color to be able to see that circle in a view
                    self?.view.backgroundColor = viewBackgroundColor
                }
            }
        })
        .addDisposableTo(disposeBag)

    let gestureRecognizer = UIPanGestureRecognizer(target: self, action: #selector(circleMoved(_:)))
    circleView.addGestureRecognizer(gestureRecognizer)
}
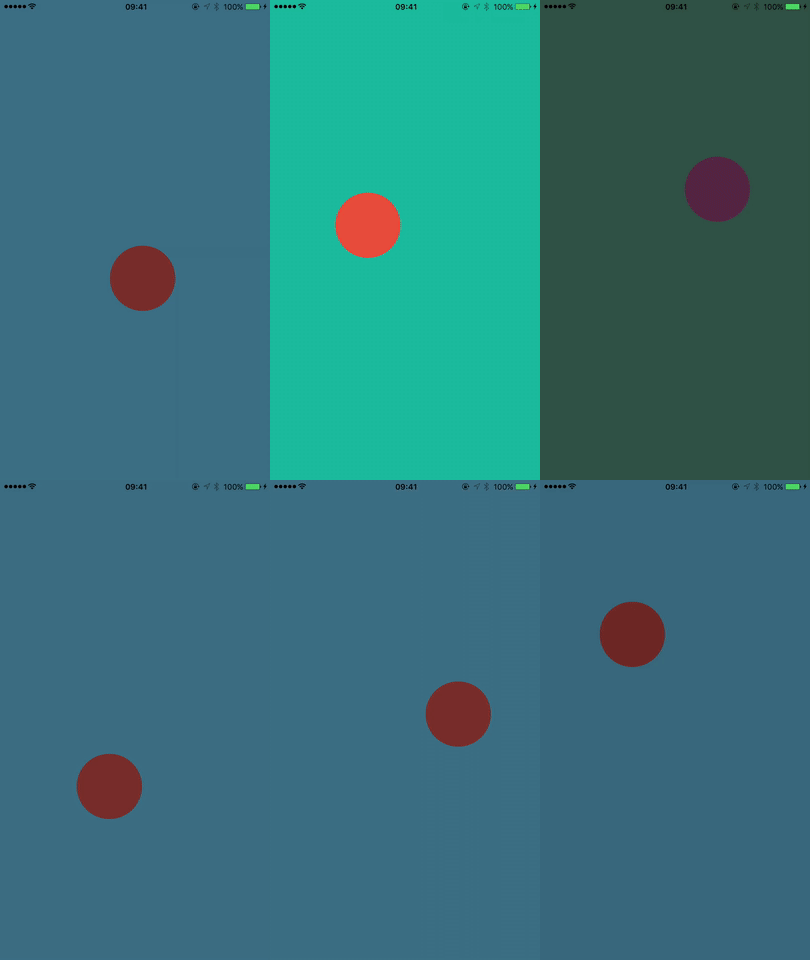
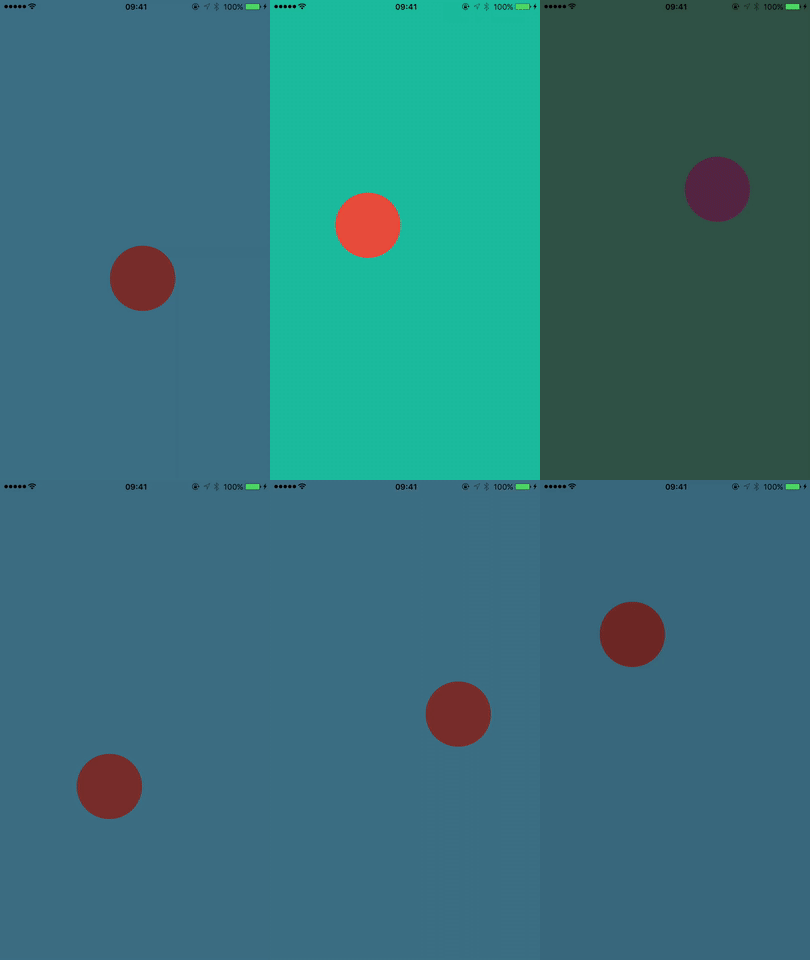
Tada, build and run ta sẽ có được kết quả chương trình như mong muốn:

All rights reserved