Get Thumbnail File Mp3, Mp4
Bài đăng này đã không được cập nhật trong 5 năm
Mở Đầu
Tuần vừa rồi dự án mình làm có chức năng upload file mp3, mp4 kèm theo yêu cầu là lấy luôn thumbnail của file, reseach thấy cũng có nhiều hướng dẫn khác nhau lắm nhưng mình thấy cách sau là ổn áp nhất, bài viết này là mình tổng hợp lại và code demo nho nhỏ tính năng mình vừa làm.
Thực hành
Chuẩn bị
New 1 app, config DB tạo thêm model, view, controller và có upload file cơ bản là chắc chắn rồi nên mấy cái này xin phép mình lướt qua, ở đây mình dùng gem "carrierwave" để upload file.
rails new demo_get_thumbnail_file_mp3_mp4 -d mysql

// vì thumbnail file mp3 bị encode theo format Base64 nên kiểu dữ liệu phải là text, thêm limit: 16.megabytes - 1
rails g scaffold  song title:string attachment:string thumbnail:text

//trong Gemfile
gem "jquery-rails"
gem "carrierwave"
Tiếp theo
bundle install
rails db:create
rails db:migrate

rails generate uploader Attachment
ở app/assets/javascripts/application.js thêm 2 dòng sau để dùng jquery
//= require jquery
//= require jquery_ujs
Ở app/models/song.rb
class Song < ApplicationRecord
  mount_uploader :attachment, AttachmentUploader
end
Ở app/views/songs/_form.html.erb chúng ta sửa lại tí nhé
<%= form_for @song do |f| %>
  <div class="video-demo-container">
    <label>Title:<label> <%= f.text_field :title, class: "text-field" %><br>
    <label>File:<label> <%= f.file_field :attachment, accept: ".mp3, .mp4", class: "js-btn-upload-attachment attachment__input" %>
    <%= f.hidden_field :thumbnail, id: "js-thumbnail-video" %>

    <div class="col-sm-9 js-display-attachment-song display-attachment-song">
      <table>
        <tr>
          <td class='js-attachment-song-content'>
            <video controls class='js-attachment-video attachment-video' autoplay='true' id='video'></video>
          </td>
          <td class="thumbnail-container">
            <%= image_tag "thumbnail-default.png", class: "js-thumbnail-picture" %>
          </td>
        </tr>
      </table>
    </div>

  <%= f.submit "Submit", class: "btn btn-success button", id: "js-btn-submit-song" %>
  </div>
<% end %>
Thêm chút css nữa
.d-none {
  display: none;
}

.btn-success {
  height: 40px;
  background-color: #75e43a;
  border-radius: 6px;
}

.video-demo-container {
  width: 48%;

  label {
    display: inline;
  }

  .text-field {
    margin-bottom: 10px;
    height: 20px;
    width: 250px;
  }

  .attachment__input {
    margin-bottom: 10px;
    margin-left: 4px;
    color: blue;
  }

  .display-attachment-song {
    table {
      width: 100%;
    }

    .attachment-video {
      max-width: 500px;
      max-height: 500px;
      margin-right: 30px;
      min-height: 300px;
    }

    .thumbnail-container {
      img {
        max-width: 90%;
        max-height: 300px;
      }
    }
  }
}
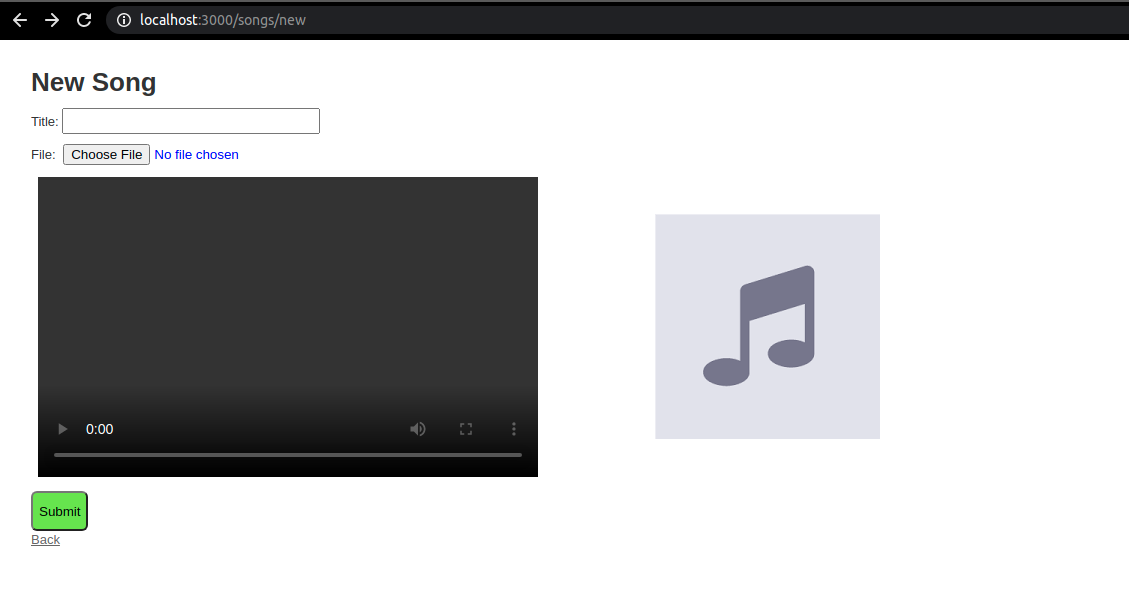
Sau khi thêm sửa _form, css ta sẽ được một form như thế này, ảnh phía bên phải là ảnh default mình tự thêm vào (assets/images)
Thư viện
JS MediaTags
Tiếp theo nếu muốn lấy metadata của file mp3, mp4 thì các bạn có thể dùng JS MediaTags.
Tạo 1 file vendor/assets/javascript/jsmediatags.min.js copy code ở link này paste vào jsmediatags.min.js
, bạn có thể đọc thêm ở đây https://github.com/aadsm/jsmediatags#browser, tùy thuộc vào file bạn up lên file sẽ có or không có metadata bạn cần.
 Nhớ require nó ở app/assets/javascripts/application.js nhé
// From vendor
//= require jsmediatags.min
Canvas
Đối với file mp4 khi test mình không thấy có kèm theo thumbnail và thường là sẽ capture image của video theo giây bạn set
nên ở đây mình dùng canvas để lấy thumbnail cho file mp4
Code thôi nào
Ở đây demo nhỏ thôi nên bỏ validate nhé. Thêm vào file app/assets/javascripts/songs.js
const ATTACHMENT_SONG_TYPE_ALLOW = /(\.mp3|\.mp4)$/i
var CANVAS, CTX, VIDEO; // 3 biến này chỉ dùng để get thumbnail file mp4 thôi.

$(function() {
  $('.js-btn-upload-attachment').change(function() {
    var file = FILE = this.files[0];

    if(file !== undefined && ATTACHMENT_SONG_TYPE_ALLOW.test(file.name) === true) {
      var contentDiv = $('.js-display-attachment-song').find('.js-attachment-song-content');

      if(RegExp('audio').test(file.type)){
        contentDiv.html("<audio controls class='js-attachment-audio attachment-audio' autoplay='true'></audio>")
        previewAttacmentSong(file, $('.js-attachment-audio'));
      } else {
        contentDiv.html("<video controls class='js-attachment-video attachment-video' autoplay='true' id='js-video-element'>" +
          "</video><canvas id='js-video-canvas' class='d-none'></canvas><br>" +
          "Seek to <select id='js-set-video-seconds'></select> seconds")
        previewAttacmentSong(file, $('.js-attachment-video'));

        CANVAS = document.querySelector("#js-video-canvas");
        CTX = CANVAS.getContext("2d"),
        VIDEO = document.querySelector('#js-video-element');
      }
    }
  });
});
Thêm function chính để preview file và nhớ chú ý giúp mình 2 dòng code này:
// 2 dòng set width, height này cực quan trọng nha, nếu k có 2 dòng này thì thunmnail của bạn sẽ bị bóp lại nhìn rất xấu.
CANVAS.width = VIDEO.videoWidth;
CANVAS.height = VIDEO.videoHeight;
function previewAttacmentSong(file, element) {
  var reader = new FileReader();

  reader.onload = function (e) {
    element.attr('src', e.target.result);
  }

  var object = element[0];
  object.preload = 'metadata';

  object.onloadedmetadata = function() {
    window.URL.revokeObjectURL(object.src);
    var duration = Math.floor(object.duration);
    $('#js-song_duration').val(duration); // dòng này để set value duration nếu model của bạn có thêm cột duration of file

    if(object.tagName == 'VIDEO'){
      durationOptionsForMp4(duration); // hàm này mình sẽ nói phía dưới
      setTimeout(function() {
        CANVAS.width = VIDEO.videoWidth;
        CANVAS.height = VIDEO.videoHeight;

        getPictureFileMp4();
      }, 300);
    } else {
      getPictureFileMp3(file);
    }
  }

  reader.readAsDataURL(file);
};
Thêm 2 function để get thumbnail
// đối với file mp4 dùng Canvas
function getPictureFileMp4() {
  CTX.drawImage(VIDEO, 0, 0, VIDEO.videoWidth, VIDEO.videoHeight);
  $('#js-thumbnail-video').val(CANVAS.toDataURL("image/png"));
  $('.js-thumbnail-picture').attr('src', CANVAS.toDataURL("image/png"));
}
// đối với file mp3 dùng jsmediatags, vì thumbnail bị encode theo format Base64 nên ban đầu lúc mình tạo model phải tạo kiểu text
function getPictureFileMp3(file) {
  jsmediatags.read(file, {
    onSuccess: function(tag) {
      var image = tag.tags.picture;

      if (image) {
        var base64String = '';
        for (var i = 0; i < image.data.length; i++) {
            base64String += String.fromCharCode(image.data[i]);
        }
        var base64 = "data:" + image.format + ";base64," + window.btoa(base64String);
        $('#js-thumbnail-video').val(base64);
        $('.js-thumbnail-picture').attr('src', base64);
      } else {
        $('#js-thumbnail-video').val('');
      }
    },
    onError: function(error) {
      // do something
      console.log(':(', error.type, error.info);
    }
  })
}
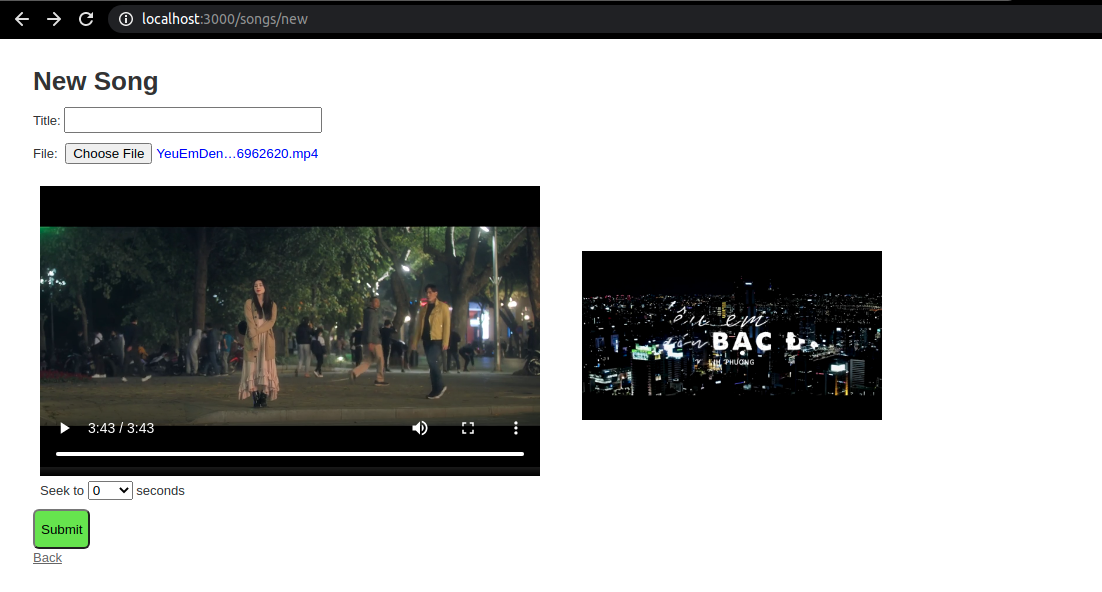
OK! Giờ thì test thử nha
Èo không biết bị lỗi gì nữa "a padding to disable msie and chrome friendly error page", tiếc là không upload được file gif cho dễ xem, nên mình chụp hình để kết quả test lên đỡ vậy

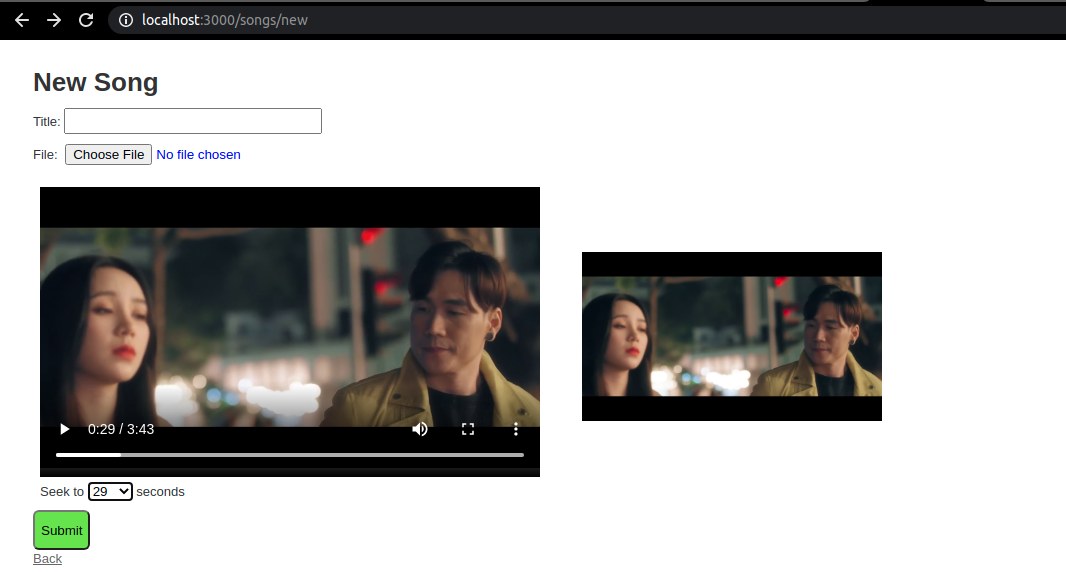
Mở rộng ra 1 tí, khi upload file mp4 ban đầu mình có setTimeout là 1s, lúc đó sẽ gọi Canvas get thumbnail lúc 1s của video, get thì get thành công rồi nhưng đôi khi nhìn thumbnail không được ưng ý lắm, nên giờ mình làm thêm một cái nữa là get thumbnail theo giây mình muốn.
Thêm 1 function từ duration của video mình sẽ generate ra options thời gian.
function durationOptionsForMp4(duration) {
  var options;

  for(var i = 0; i < Math.floor(duration); i = i++) {
    options += '<option value="' + i + '">' + i + '</option>';
  }

  $("#js-set-video-seconds").html(options);
}
Bắt lấy event select_box change để get thumbnail
  $(document).on('change', '#js-set-video-seconds', function() {
    VIDEO.currentTime = parseInt($(this).val());
    setTimeout(function(){
      getPictureFileMp4();
    }, 300);
  });
Giờ thì test tiếp, ở bước này mình lấy theo giây 20, 29

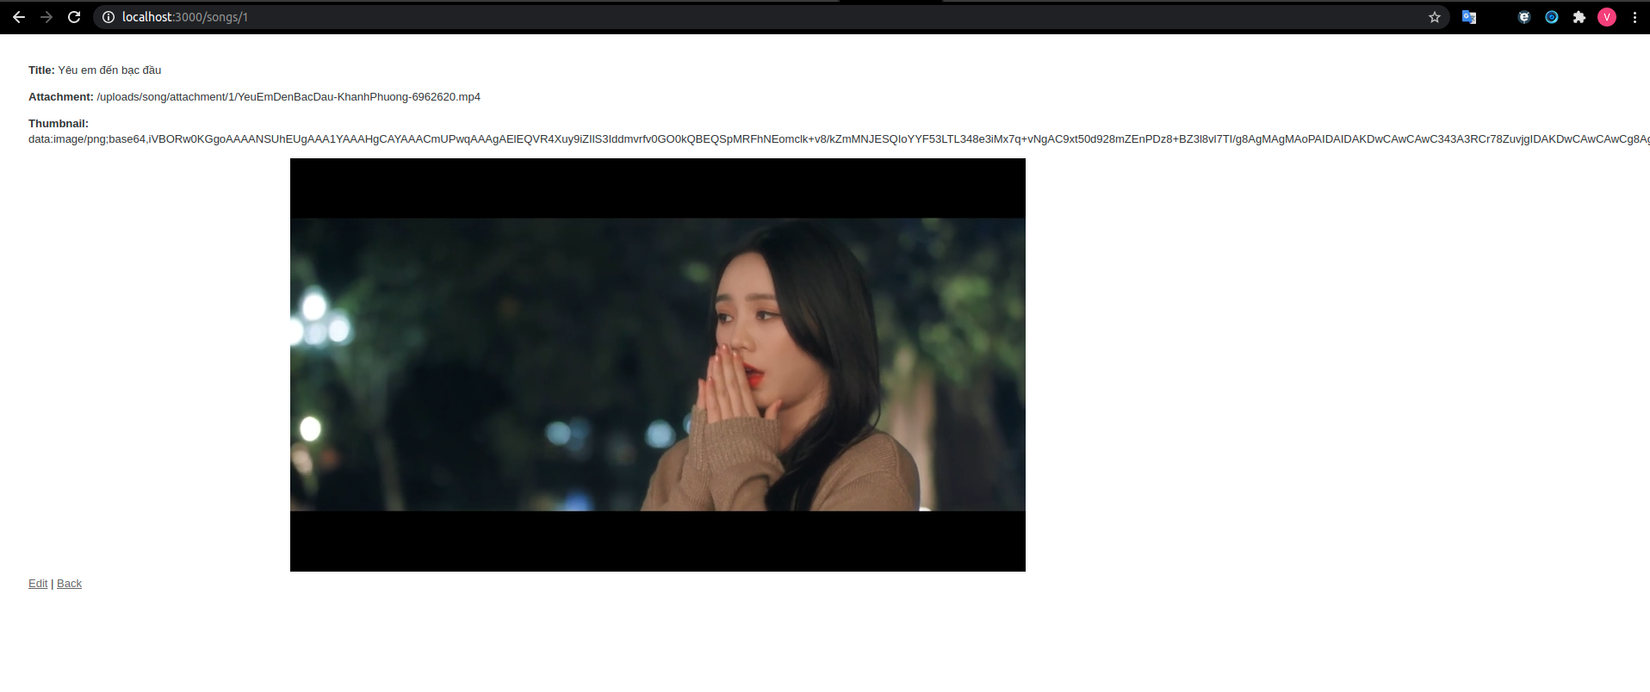
Giờ thì ta có thể submit form để test luôn là nó có lưu không nhé
 vì đã decode ra nên value nhìn như 1 cái rừng vậy :v, nhảy về trang Show xem kết quả nào
thêm đoạn code sau thể hiển thị thumbnail
vì đã decode ra nên value nhìn như 1 cái rừng vậy :v, nhảy về trang Show xem kết quả nào
thêm đoạn code sau thể hiển thị thumbnail
<%= image_tag @song.thumbnail %>
Và đây là kết quả cuối
Kết
Trên là bài hướng dẫn cơ bản theo cách mình reseach được nên chắc vẫn còn nhiều thiếu sót, có gì mong bạn đọc thông cảm (bow)
Nguồn:
https://github.com/aadsm/jsmediatags
https://usefulangle.com/post/46/javascript-get-video-thumbnail-image-jpeg-png
All rights reserved
