Firebase Analytics in ios app
Bài đăng này đã không được cập nhật trong 7 năm
1. Thiết lập ban đầu
- X-Code từ 8.0 trở lên
- Swift từ 3.0
- CocoaPod từ 1.2.0 (có thể sử dụng cocoaPod hoặc nếu ko có thể add trực tiếp file thư viện vào project )
- Bundle id của app
2. Add firebase to your app
- Tạo Firebase Project trên Firebase console , thêm bundle-id của ios app vào firebase project
- Download file GoogleService-Info.plist, hoặc có thể tải lại file bất cứ lúc nào theo hướng dẫn Download GoogleService-Info.plist
- Add file .plist vào ios app (đảm bảo chọn đúng target cần add firebase)
3 Add Firebase sdk
-
Sử dụng CocoaPod
- Tạo Podfile (nếu đã có podfile bỏ qua bước này) $ cd your-project directory $ pod init - Copy " pod 'Firebase/Core' " vào trong podfile - Cài đặt pods và mở file .xcworkspace trong X-code project $ pod install $ open your-project.xcworkspace -
Không sử dụng CocoaPod
  - Tải [Firebase Framework Sdk zip](https://firebase.google.com/download/ios?authuser=0)
  - Giải nén và add các framework cần sử dụng vào project theo file README trong thư mục zip vừa tải về
  - Thêm "ObjC" vào Other Linker Settings trong build setting của target cần sử dụng firebase
4. Config trên project
-
Swift
- import Firebase - Trong hàm application:didFinishLaunchingWithOptions: - FirebaseApp.configure() -
Objectype-C
- @import Firebase;
- [FIRApp configure];
5. Logevent lên firebase
-
Swift
-Analytics.logEvent("share_image", parameters: [ "name": name as NSObject, "full_text": text as NSObject ])
-
ObjectType-C
- [FIRAnalytics logEventWithName:@"share_image" parameters:@{ @"name": name, @"full_text": text }];
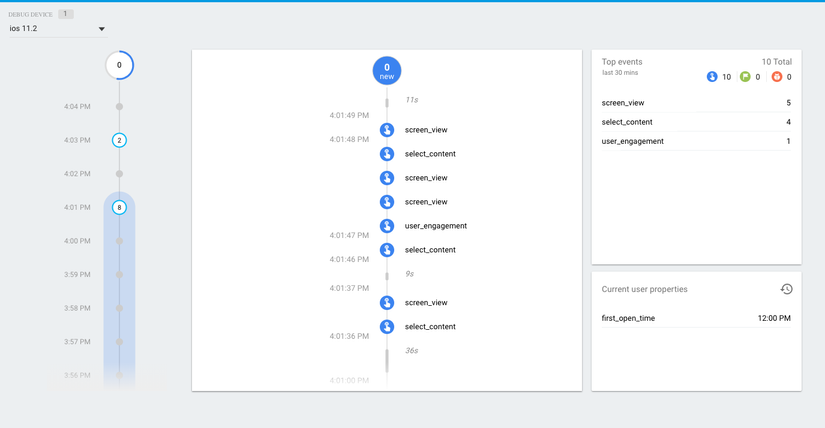
6. Xem event đã log trên firebase
- Trong X-code, chọn Product > Scheme > Edit scheme
- Chọn Run từ thanh menu bên trái
- Chọn tab Arguments
- Click nut "+", thêm -FIRAnalyticsDebugEnabled
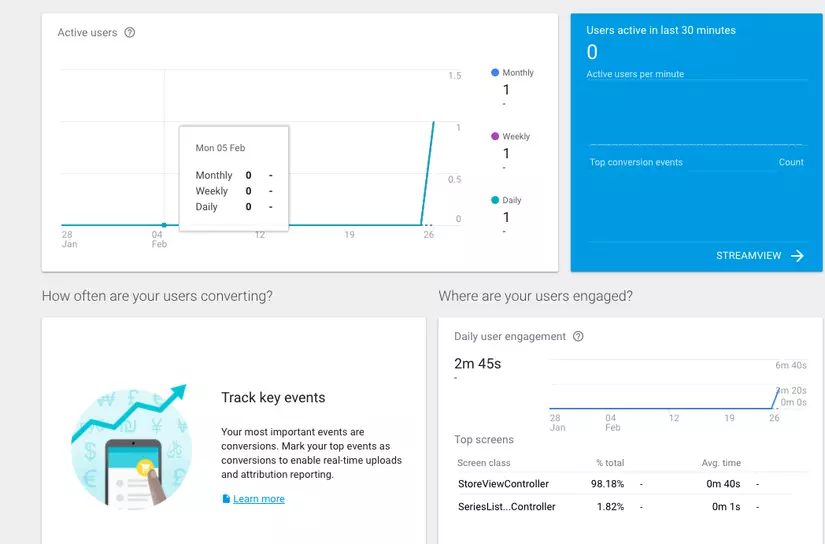
- Truy cập Firebase Console để xem thống kê


All rights reserved