File upload với Multer, Nodejs và Express
Bài đăng này đã không được cập nhật trong 5 năm
Khi một web client tải một tệp lên máy chủ, nó thường được gửi qua một biểu mẫu và được mã hóa dưới dạng dữ liệu multipart/form-data. Multer là một middleware cho Express và Nodejs giúp dễ dàng xử lý dữ liệu multipart/form-data khi người dùng upload file.
Trong bài viết này mình sẽ hướng dẫn các bạn sử dụng thư viện Multer để xử lý các tình huống tải file lên khác nhau trong nodejs
Cài đặt Project
Chúng ta sẽ dùng Node Express framework cho project này. Tất nhiên các cần phải cài đặt Nodejs.
Tạo thư mục cho dự án, điều hướng vào thư mục và npm init để tạo tệp .json quản lý tất cả các dependencies cho ứng dụng của chúng ta.
mkdir upload-express
cd  upload-express
npm init
Tiếp theo, cài đặt Multer, Express và các dependencies khác cần thiết để khởi động ứng dụng Express.
npm install express multer body-parser --save
Tạo một file server.js
touch server.js
Sau đó trong file server.js, Chúng ta sẽ khởi tạo tất cả các modules, tạo một Express app, và tạo một server để kết nối tới browsers.
// call all the required packages
const express = require('express')
const bodyParser= require('body-parser')
const multer = require('multer');
const app = express();
//CREATE EXPRESS APP
app.use(bodyParser.urlencoded({extended: true}))
//ROUTES WILL GO HERE
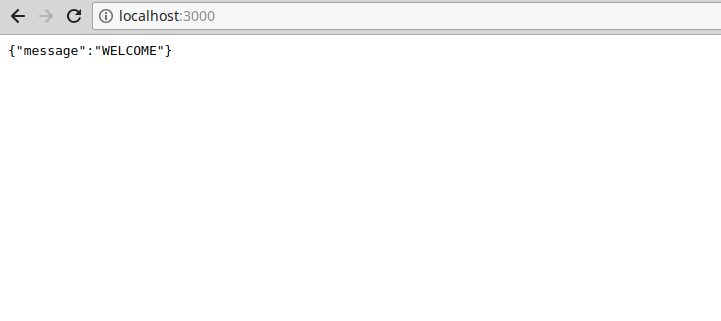
app.get('/', function(req, res) {
res.json({ message: 'WELCOME' });
});
app.listen(3000, () => console.log('Server started on port 3000'));
Chạy node server.js và điều hướng đến localhost: 3000 trên trình duyệt của bạn sẽ cho bạn thông báo sau.
Tạo một Client Code
Việc tiếp theo sẽ là tạo một tệp index.html để viết tất cả code sẽ được cung cấp cho client.
touch index.html
Tệp này sẽ chứa những form khác nhau mà chúng ta sẽ dùng để upload theo các kiều khác nhau.
<!DOCTYPE html>
<html lang="en">
<head>
  <meta charset="UTF-8">
  <title>MY APP</title>
</head>
<body>


 <!--  SINGLE FILE -->
<form action="/uploadfile" enctype="multipart/form-data" method="POST">
   <input type="file" name="myFile" />
   <input type="submit" value="Upload a file"/>
</form>


<!-- MULTIPLE FILES -->

<form action="/uploadmultiple"  enctype="multipart/form-data" method="POST">
  Select images: <input type="file" name="myFiles" multiple>
  <input type="submit" value="Upload your files"/>
</form>

  <!--   PHOTO-->

<form action="/upload/photo" enctype="multipart/form-data" method="POST">
  <input type="file" name="myImage" accept="image/*" />
  <input type="submit" value="Upload Photo"/>
</form>


</body>
</html>
Open server.js viết một GET route để render index.html thay cho "WELCOME" message
// ROUTES
app.get('/',function(req,res){
  res.sendFile(__dirname + '/index.html');
})
Multer Storage
Điều tiếp theo sẽ là xác định vị trí lưu trữ cho các tệp của chúng ta. Multer cung cấp tùy chọn lưu trữ tệp vào đĩa, như hình dưới đây. Tại đây, ta thiết lập một thư mục nơi tất cả các tệp của chúng ta sẽ được lưu và chúng ta cũng sẽ cung cấp cho các tệp một số nhận dạng mới.
//server.js

// SET STORAGE
var storage = multer.diskStorage({
  destination: function (req, file, cb) {
    cb(null, 'uploads')
  },
  filename: function (req, file, cb) {
    cb(null, file.fieldname + '-' + Date.now())
  }
})

var upload = multer({ storage: storage })
Xử lý File Uploads
Xử lý Single File
Trong index.html chúng ta đã xác định một thuộc tính và action thực hiện yêu cầu là POST. Bây giờ chúng ta cần tạo một endpoint trong ứng dụng Express. Mở file server.js và thêm đoạn code sau:
app.post('/uploadfile', upload.single('myFile'), (req, res, next) => {
  const file = req.file
  if (!file) {
    const error = new Error('Please upload a file')
    error.httpStatusCode = 400
    return next(error)
  }
  res.send(file)
})
Lưu ý rằng tên của trường file phải giống với đối số 'myFile' được truyền vào hàm upload.single.
Uploading Multiple Files
Tải lên nhiều tệp bằng Multer tương tự như tải lên một tệp duy nhất, nhưng có một vài thay đổi.
//Uploading multiple files
app.post('/uploadmultiple', upload.array('myFiles', 12), (req, res, next) => {
  const files = req.files
  if (!files) {
    const error = new Error('Please choose files')
    error.httpStatusCode = 400
    return next(error)
  }
  res.send(files)
})
Uploading Images
Thay vì lưu hình ảnh đã tải lên vào hệ thống tệp, chúng ta sẽ lưu trữ chúng trong cơ sở dữ liệu MongoDB để chúng tôi có thể truy xuất chúng sau này khi cần. Nhưng trước tiên, hãy cài đặt MongoDB.
npm install mongodb --save
Sau đó, chúng ta sẽ kết nối với MongoDB thông qua phương thức Mongo.client và sau đó thêm URL MongoDB vào phương thức đó.
const MongoClient = require('mongodb').MongoClient
const myurl = 'mongodb://localhost:27017';

MongoClient.connect(myurl, (err, client) => {
  if (err) return console.log(err)
  db = client.db('test')
  app.listen(3000, () => {
    console.log('listening on 3000')
  })
})
Mở server.js và xác định một POST request cho phép lưu hình ảnh vào database.
app.post('/uploadphoto', upload.single('picture'), (req, res) => {
  var img = fs.readFileSync(req.file.path);
  var encode_image = img.toString('base64');
  // Define a JSONobject for the image attributes for saving to database

  var finalImg = {
    contentType: req.file.mimetype,
    image:  new Buffer(encode_image, 'base64')
  };
  db.collection('quotes').insertOne(finalImg, (err, result) => {
    console.log(result)

    if (err) return console.log(err)

    console.log('saved to database')
    res.redirect('/')
  })
})
Trong đoạn mã trên, trước tiên, chúng ta mã hóa hình ảnh thành chuỗi base64, tạo bộ đệm mới từ chuỗi được mã hóa base64, sau đó lưu nó vào bộ sưu tập cơ sở dữ liệu của chúng ta ở định dạng JSON.
Sau đó, chúng ta hiển thị thông báo thành công và chuyển hướng người dùng đến index page.
Truy xuất hình ảnh đã lưu trữ
Để truy xuất các hình ảnh đã lưu trữ, chúng ta thực hiện tìm kiếm MongoDB bằng cách sử dụng phương thức find và trả về một mảng kết quả. Sau đó, chúng ta tiếp tục và lấy các thuộc tính _id của tất cả các hình ảnh và trả lại cho người dùng.
app.get('/photos', (req, res) => {
  db.collection('mycollection').find().toArray((err, result) => {
  const imgArray= result.map(element => element._id);
  console.log(imgArray);

  if (err) return console.log(err)
    res.send(imgArray)
  })
});
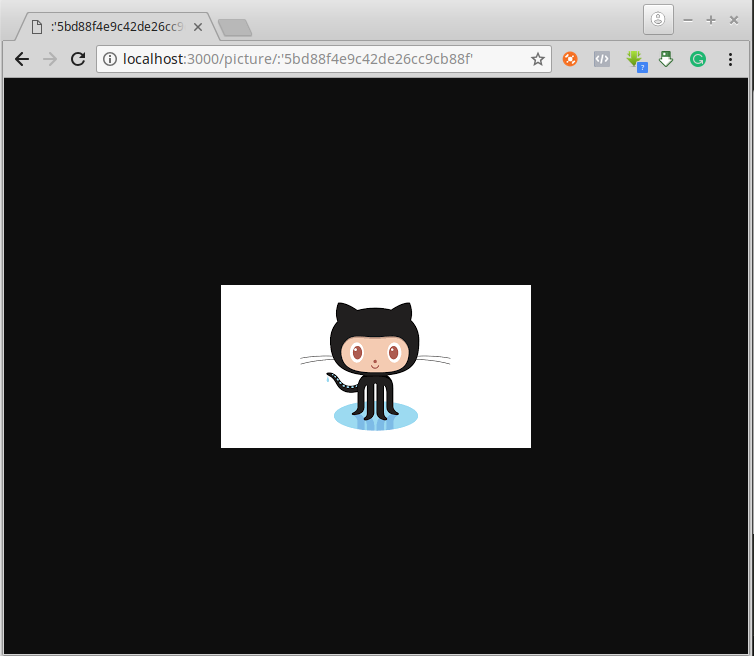
Vì chúng ta đã biết id của hình ảnh, chúng ta có thể xem hình ảnh bằng cách chuyển id của nó vào trình duyệt, như minh họa bên dưới.
app.get('/photo/:id', (req, res) => {
  var filename = req.params.id;

  db.collection('mycollection').findOne({'_id': ObjectId(filename) }, (err, result) => {
    if (err) return console.log(err)

    res.contentType('image/jpeg');
    res.send(result.image.buffer)
  })
})
Kết luận
Mình hy vọng bạn thấy hướng dẫn này hữu ích. Tải lên tệp có thể là một chủ đề đáng sợ, nhưng nó không khó thực hiện. Với Express và Multer, việc xử lý dữ liệu multipart/form-data trở nên dễ dàng và đơn giản.
All rights reserved
