Export dữ liệu ra excel trong ứng dụng React
Bài đăng này đã không được cập nhật trong 6 năm
 Chúng ta thường xuất dữ liệu từ bảng sang bảng excel trong các ứng dụng web. Có hai cách để thực hiện chức năng export trong React: một là sử dụng bất kỳ thư viện bên thứ ba nào và cách khác là tạo component riêng của bạn. Trong bài đăng này, chúng ta sẽ xem cách triển khai chức năng export ra excel trong ứng dụng React theo cả hai cách.
Dưới đây là các chủ đề chúng ta sẽ trải qua trong bài viết này:
- Example Project
- Điều kiện tiên quyết
- Thực hiện chức năng export
- Chức năng Export với bên thứ ba hoắc NPM lib
- Tóm lược
- Kết luận
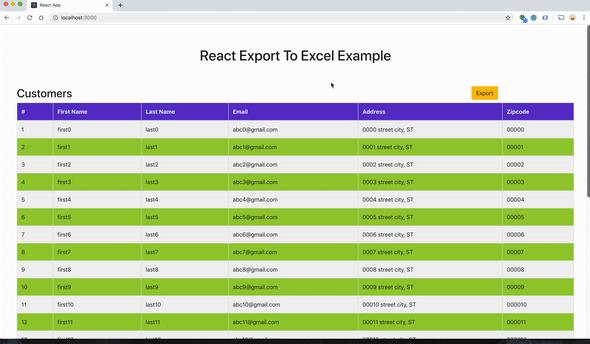
1. Example project
Đây là một ứng dụng đơn giản với dữ liệu bảng và nút xuất ở góc trên cùng bên phải. Khi bạn bấm vào nút, dữ liệu từ bảng sẽ được tải xuống trong một bảng excel.
 Bạn có thể nhập dự án từ đây và chạy trực tiếp.
// clone the project
git clone https://github.com/bbachi/react-exportexcel-example.git
// install and start the project
npm install
npm start
2. Điều kiện tiên quyết
Có một số điều kiện tiên quyết cho hướng dẫn này. Bạn cần tạo một dự án React với ứng dụng create-react-app và cần cài đặt các gói npm xslx, bootstrapand file-saver.
// generate react project
create-react-app react-exportexcel-example
// install bootstrap
npm install react-bootstrap bootstrap --save
// install xsls and file-saver
npm install xlsx file-saver --save
Bạn cần thêm stylesheets từ thư viện React Bootstrap trong index.html.
<!DOCTYPE html>
<html lang="en">
  <head>
    <meta charset="utf-8" />
    <link rel="shortcut icon" href="%PUBLIC_URL%/favicon.ico" />
    <!-- Bootstrap stylesheet link -->
    <link
      rel="stylesheet"
      href="https://maxcdn.bootstrapcdn.com/bootstrap/4.3.1/css/bootstrap.min.css"
      integrity="sha384-ggOyR0iXCbMQv3Xipma34MD+dH/1fQ784/j6cY/iJTQUOhcWr7x9JvoRxT2MZw1T"
      crossorigin="anonymous"
    />
    <meta name="viewport" content="width=device-width, initial-scale=1" />
    <meta name="theme-color" content="#000000" />

    <title>React App</title>
  </head>
  <body>
    <noscript>You need to enable JavaScript to run this app.</noscript>
    <div id="root"></div>
  </body>
</html>
Tạo một tiêu đề cho Header
import React from 'react'

export const Header = () => {
    return (
        <div className="header">
            <h1>React Export To Excel Example</h1>
        </div>
    )
}
Tạo bảng Customers
Hãy tạo ra một component bảng Customer. Đây là một component trình bày trong đó đưa mảng customers làm props và renders làm bảng.
import React from 'react'
import Table from 'react-bootstrap/Table';

export const Customers = ({customers}) => {

    const CustomerRow = (customer,index) => {

        return(
              <tr key = {index} className='even'>
                  <td> {index + 1} </td>
                  <td>{customer.firstName}</td>
                  <td>{customer.lastName}</td>
                  <td>{customer.email}</td>
                  <td>{customer.address}</td>
                  <td>{customer.zipcode}</td>
              </tr>
          )
      }

      const CustomerTable = customers.map((cust,index) => CustomerRow(cust,index))

      const tableHeader = <thead className='bgvi'>
                            <tr>
                                <th>#</th>
                                <th>First Name</th>
                                <th>Last Name</th>
                                <th>Email</th>
                                <th>Address</th>
                                <th>Zipcode</th>
                            </tr>
                        </thead>

    return (
        <Table striped bordered hover>
            {tableHeader}
            <tbody>
                {CustomerTable}
            </tbody>
        </Table>
    )
}
Truyền dữ liệu từ App component
Chúng ta nên chuyển dữ liệu được hiển thị trong bảng từ App component như bên dưới và chúng ta cũng cần nhập các component Customers và Header để sử dụng các dữ liệu trong chức năng render.
import React from 'react';
import './App.css';
import { Customers } from './Customers'
import { Header } from './Header'

class App extends React.Component {

  customers = () => {
    let custs = []
    for (let i = 0; i <= 25; i++) {
      custs.push({firstName: `first${i}`, lastName: `last${i}`,
      email: `abc${i}@gmail.com`, address: `000${i} street city, ST`, zipcode: `0000${i}`});
    }
    return custs;
  }

  render() {

    return (
      <div className="App">
        <Header />
        <Customers customers={this.customers()}/>
      </div>
    );
  }
}

export default App;
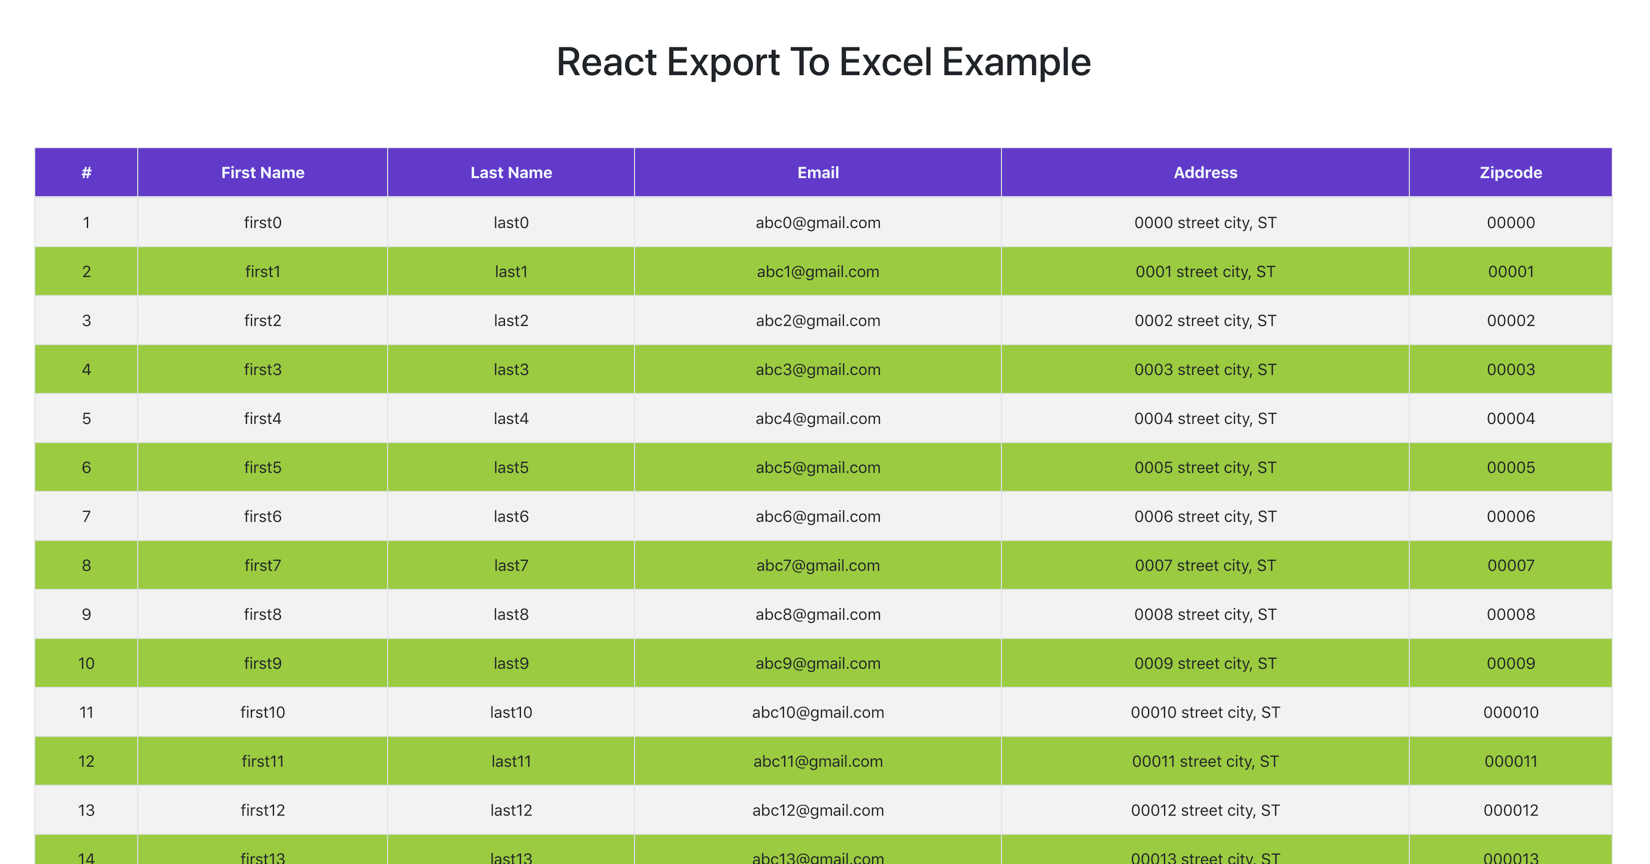
Ứng dụng của bạn sẽ trông như thế này.
3. Thực hiện các chức năng Export
Hãy tạo ra một component có tên là ExportCSVwhich lấy dữ liệu làm props và quan tâm tới phần còn lại của chức năng export. Đây là component với phương thức exportToCSV để xử lý tất cả các chức năng tải xuống excel với xlxs và file-saver.
import React from 'react'
import Button from 'react-bootstrap/Button';
import * as FileSaver from 'file-saver';
import * as XLSX from 'xlsx';

export const ExportCSV = ({csvData, fileName}) => {

    const fileType = 'application/vnd.openxmlformats-officedocument.spreadsheetml.sheet;charset=UTF-8';
    const fileExtension = '.xlsx';

    const exportToCSV = (csvData, fileName) => {
        const ws = XLSX.utils.json_to_sheet(csvData);
        const wb = { Sheets: { 'data': ws }, SheetNames: ['data'] };
        const excelBuffer = XLSX.write(wb, { bookType: 'xlsx', type: 'array' });
        const data = new Blob([excelBuffer], {type: fileType});
        FileSaver.saveAs(data, fileName + fileExtension);
    }

    return (
        <Button variant="warning" onClick={(e) => exportToCSV(csvData,fileName)}>Export</Button>
    )
}
Component này là một thành phần trình bày lấy dữ liệu để tải xuống và tên tệp làm props. Phương thức exportToCSV được gọi khi nhấp vào nút xuất.
Bạn cần nhập component này trong App component.
// removed for brevity
render() {

    return (
      <div className="App">
        <Header />
        <div className="row">
            <div className="col-md-8">
                <h2>Customers</h2>
            </div>
            <div className="col-md-4 center">
                <ExportCSV csvData={this.state.customers} fileName={this.state.fileName} />
            </div>
        </div>
        <Customers customers={this.customers()}/>
      </div>
    );
  }
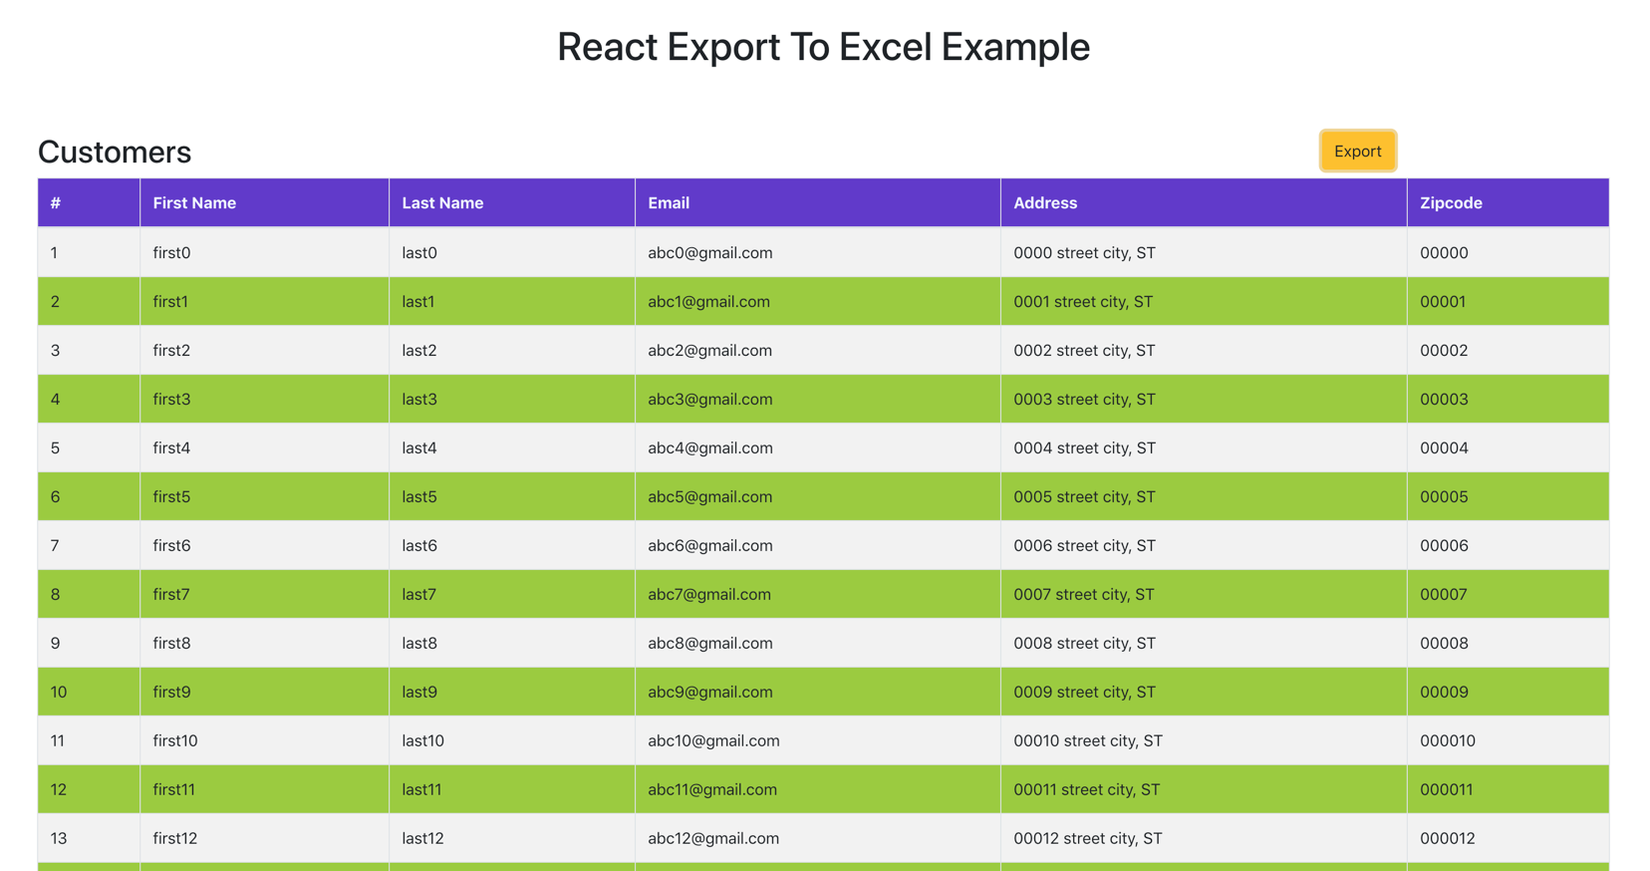
Màn hình sau đây là màn hình cuối cùng sau khi chúng ta thêm tất cả các chức năng trên và sẵn sàng hoạt động !!
4. Chức năng Export với bên thứ ba hoắc NPM lib
Reac-csv là thư viện bên thứ ba mà chúng ta có thể sử dụng. Tất cả việc chúng ta cần làm là truyền dữ liệu và fileName và thư viện này sẽ lo phần còn lại cho chúng ta.
Chúng ta cần cài đặt Reac-csv trước và sau đó nhập nó trong component ExportCSV.
npm install react-csv --save
Nhập CSVLink từ react-csv và chuyển dữ liệu cần thiết và tên tệp vào liên kết đó như bên dưới.
import React from 'react'
import { CSVLink } from 'react-csv'
import Button from 'react-bootstrap/Button';

export const ExportReactCSV = ({csvData, fileName}) => {
    return (
        <Button variant="warning">
            <CSVLink data={csvData} filename={fileName}>Export</CSVLink>
        </Button>
    )
}
Trong App component, tất cả những gì bạn cần làm là nhập ExportReactCSV thay vì ExportCSV.
import { ExportReactCSV } from './ExportReactCSV'

    // removed code for the brevity

    <div className="col-md-4 center">
        <ExportReactCSV csvData={this.state.customers} fileName={this.state.fileName} />
    </div>

  }
}

export default App;
5. Tóm lược
- Chúng ta cần xsls và file-saver libs để thực hiện chức năng export trong React.
- Có một số cách bạn có thể triển khai logic export của mình trong React: một là sử dụng logic riêng, một cách khác là sử dụng bất kỳ lib bên thứ ba nào.
- Thực hiện logic export với component riêng biệt để có thể sử dụng lại và cũng có thể được nhập vào bất kỳ component nào để sử dụng nó.
6. Phần kết luận
Có một số libs bên thứ ba hoặc npm để sử dụng ngay . Nhưng, đôi khi chúng ta phải tạo component riêng cho chức năng export để có thể linh hoạt hơn và các cho các mục đích khác như lý do bảo mật. Cảm ơn các bạn đã theo dõi. Trong bài viết có tham khảo tại https://blog.bitsrc.io/exporting-data-to-excel-with-react-6943d7775a92
All rights reserved
