Drawing Tutorial Sample With Swift
Bài đăng này đã không được cập nhật trong 4 năm
Trong bài post này mình sẽ hướng dẫn các bạn làm một sample nhỏ sử dụng UIGraphics để làm một sample pain.
Mô tả project
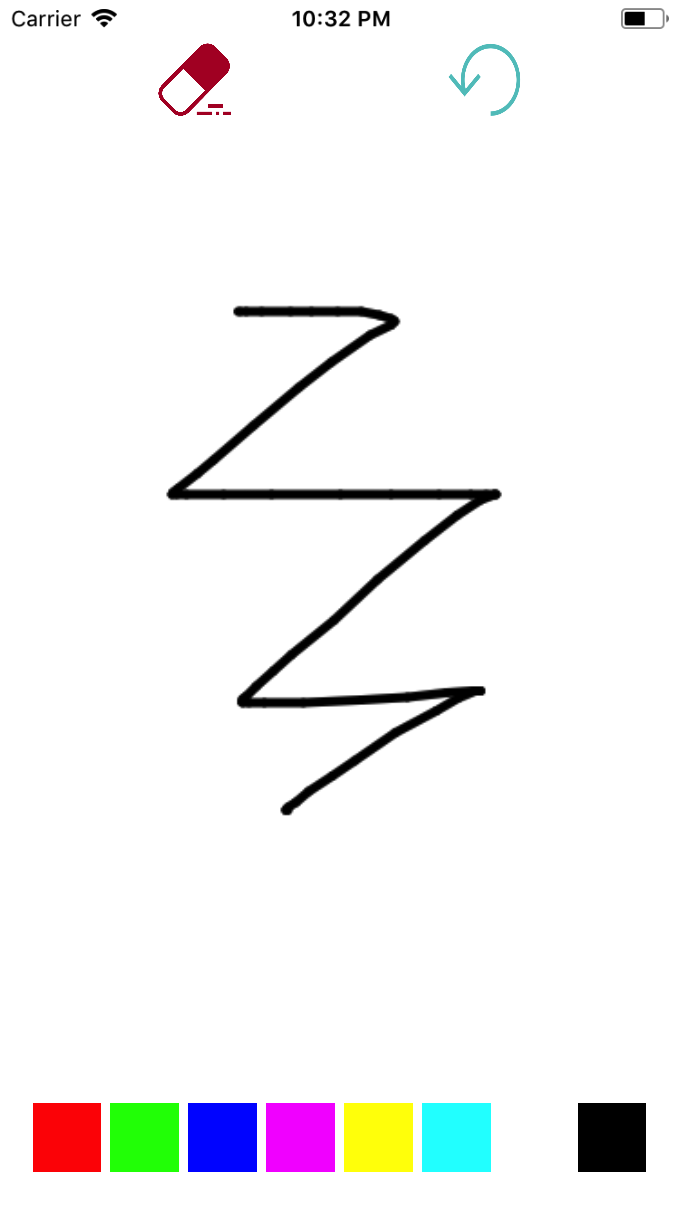
Mình sẽ tiến hành tạo một demo cho phép bạn vẽ bất kỳ cái gì lên đó, có thêm chức năng chọn màu (với một số màu cơ bản), chức năng như "cục tẩy" và một nút cho phép bạn reset nếu cần.
Project sau khi build.
 ok! vậy thì code thôi!
Coding.
- Trước tiên mình tiến hành dựng giao diện. Chúng ta cần một UIImageView, 2 button cho chức năng tẩy và reset. Với chức năng thay đổi màu để đơn giản mình sử dụng các button.
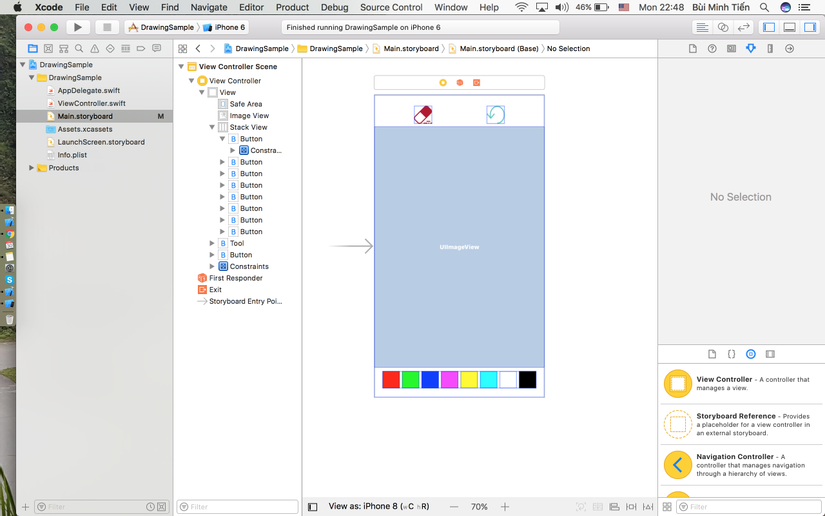 Vậy chúng ta đa có giao diện cho ứng dụng. Lưu ý đang tag cho các button để thay đổi màu nhé.
 - Tiếp theo bạn kéo các reference vào viewController
- Quay trở lại với viewcontroller. Đầu tiên muốn vẽ lên màn hình chúng ta cần xác định các hành động tương ứng. Cụ thể bao gồm,
touchesBegan,touchesMovedvàtouchesEnded. Mục đích để lấy các điểm cho hàm vẽ.
   override func touchesBegan(_ touches: Set<UITouch>, with event: UIEvent?) {
       swiped = false
       if let touch = touches.first {
           lastPoint = touch.location(in: self.imageView)
       }
   }

   override func touchesMoved(_ touches: Set<UITouch>, with event: UIEvent?) {
       swiped = true

       if let touch = touches.first {
           let currentPoint = touch.location(in: self.imageView)
           drawLines(fromPoint: lastPoint, toPoint: currentPoint)

           lastPoint = currentPoint
       }
   }

   override func touchesEnded(_ touches: Set<UITouch>, with event: UIEvent?) {
       if !swiped {
           drawLines(fromPoint: lastPoint, toPoint: lastPoint)
       }
   }
- Đi vào phần chính, Xây dựng hàm draw.
func drawLines(fromPoint: CGPoint, toPoint: CGPoint) {
        UIGraphicsBeginImageContext(self.imageView.frame.size)
        imageView.image?.draw(in: CGRect(x: 0, y: 0, width: self.imageView.frame.width, height: self.imageView.frame.height))
        let context = UIGraphicsGetCurrentContext()
        context?.move(to: CGPoint(x: fromPoint.x, y: fromPoint.y))
        context?.addLine(to: CGPoint(x: toPoint.x, y: toPoint.y))
        context?.setBlendMode(CGBlendMode.normal)
        context?.setLineCap(CGLineCap.round)
        context?.setLineWidth(brushSize)
        context?.setStrokeColor(UIColor(red: red, green: green, blue: blue, alpha: opacityValue).cgColor)
        context?.strokePath()
        imageView.image = UIGraphicsGetImageFromCurrentImageContext()
        UIGraphicsEndImageContext()
    }
Đầu tiên mở một vùng để có thể vẽ lên đó ` UIGraphicsBeginImageContext(self.imageView.frame.size)` ở đây mình chỉ cho phép vẽ trên imageView đã dựng ở trên. Kế tiếp mình khởi tạo image sẽ được vẽ lên. `imageView.image?.draw(in: CGRect(x: 0, y: 0, width: self.imageView.frame.width, height: self.imageView.frame.height))`. Vì mình vẽ trên imageView nên mình lấy width và height của imageView đó. Sau đó bạn set các thuộc tính cần thiết cho đường vẽ đó. Cuối cùng bạn get image từ context được tạo ở trên.
* Đến đây đã xong phần vẽ. Xử lý tiếp phần tẩy xóa và reset nhỉ.
@IBAction func erase(_ sender: Any) {
      if (isDrawing) {
          (red,green,blue) = (255, 255, 255)
          brushSize = 20.0
      } else {
          (red,green,blue) = (0,0,0)
          brushSize = 5
      }
      isDrawing = !isDrawing
      isErase = !isErase
  }

  @IBAction func reset(_ sender: Any) {
      self.imageView.image = nil
      (red,green,blue) = (0,0,0)
  }
- Cuối cùng là chức năng chọn màu
@IBAction func colorPicker(_ sender: UIButton) {
      if sender.tag == 0 {
          (red,green,blue) = (1,0,0)
      } else if sender.tag == 1 {
          (red,green,blue) = (0,1,0)
      } else if sender.tag == 2 {
          (red,green,blue) = (0,0,1)
      } else if sender.tag == 3 {
          (red,green,blue) = (1,0,1)
      } else if sender.tag == 4 {
          (red,green,blue) = (1,1,0)
      } else if sender.tag == 5 {
          (red,green,blue) = (0,1,1)
      } else if sender.tag == 6 {
          (red,green,blue) = (1,1,1)
      } else if sender.tag == 7 {
          (red,green,blue) = (0,0,0)
      }
  }
- Đến đây mình đã có thể xử lý được sample drawing rồi.
- Link code: https://github.com/tienbm92/DrawingSample.git
All rights reserved
