Customize Table View Cells cho UITableView
Bài đăng này đã không được cập nhật trong 11 năm
Thiết kế Cell
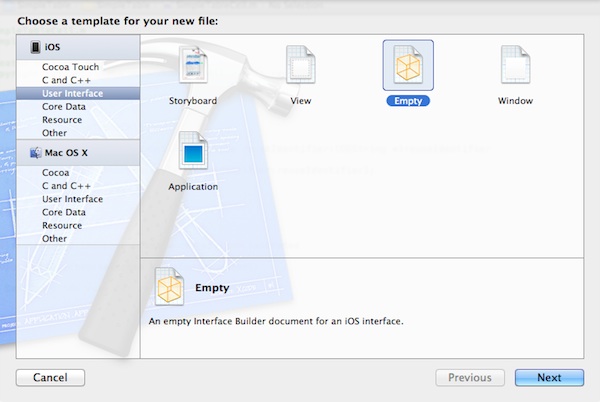
Trong Project Navigator, click “SimpleTable” folder và chọn “New File…”.
Chúng ta sẽ chọn để tạo mới Interface Builder file cho cell. Trong trường hợp này, chúng ta cần bắt đầu với 1 “Empty” user interface. Click "Next" để tiếp tục.
Tiếp, chọn “iPhone” và click “Next” để tiếp tục. Save file thành “SimpleTableCell”.
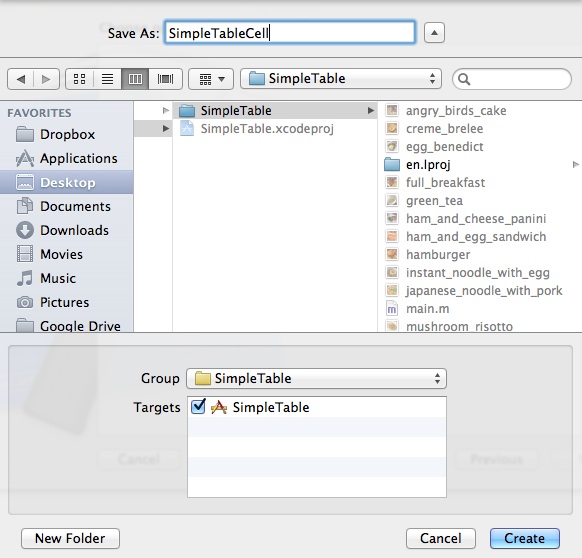
Một khi file này được tạo, bạn có thể tìm thấy nó trong Project Navigator. Chọn “SimpleTableCell.xib” để chuyên về Interface Builder.
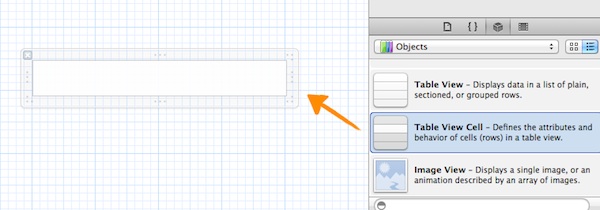
Trong Object Library, chọn “Table View Cell” và drag nó đến vùng design của Interface Builder.
Để chứa được thumbnail lớn hơn, chúng ta phải thay đổi độ cao cua cell về 78.
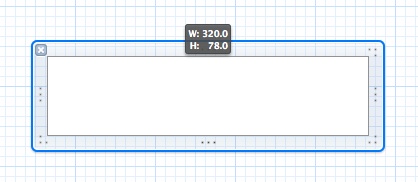
Cách khác, bạn có thể sử dụng “Size Inspector” để thay đổi chiều cao.
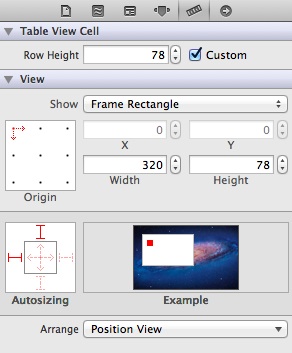
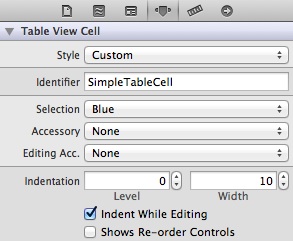
Chọn “Attributes Inspector” và set “Identifier” của custom cell là “SimpleTableCell”. identifier này sẽ được sử dụng sau này trong code của bạn.
Như đã cấu hình ở table cell view, chúng ta sẽ đặt những elements khác trong nó. Chọn “Image View” và drag nó đến Table View Cell.
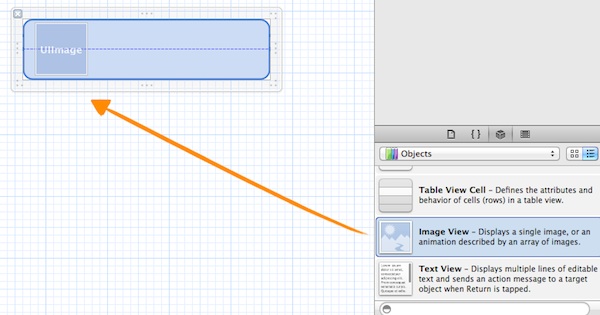
Ảnh này được sử dụng để hiển thị thumbnail. Bạn có thể chỉnh nó để làm nó phù hợp với call hơn.
Chọn 3 labels : Name, Prep Time và Time.
Để add labels, chọn “Label” trong Object library và drag nó đến cell.
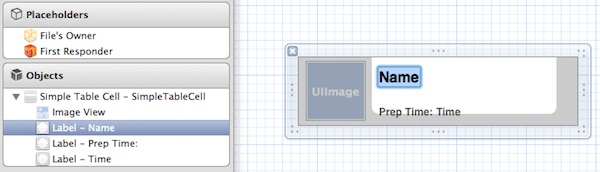
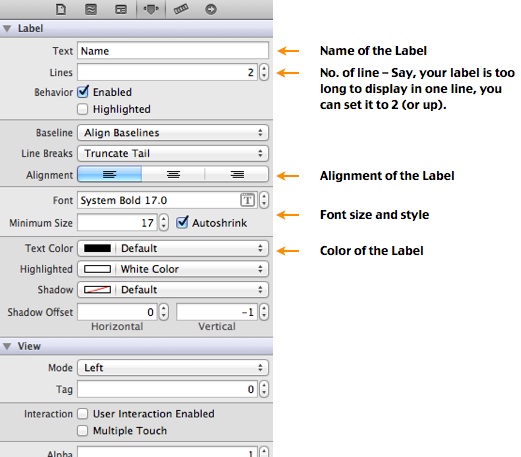
Để đối font size, chọn Label và chọn “Attribute Inspector”. Ở đây, bạn cũng có thể thay đổi text color và alignment.
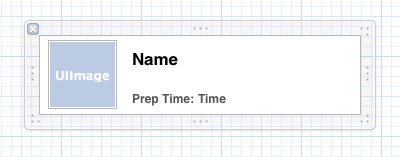
Design cuối cùng sẽ trông như thế này.
Tạo Class cho Custom Cell
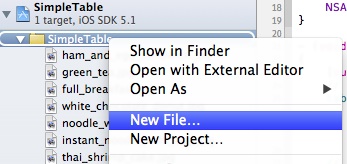
Click vào “SimpleTable” folder trong Project Navigator và chọn “New File…”.
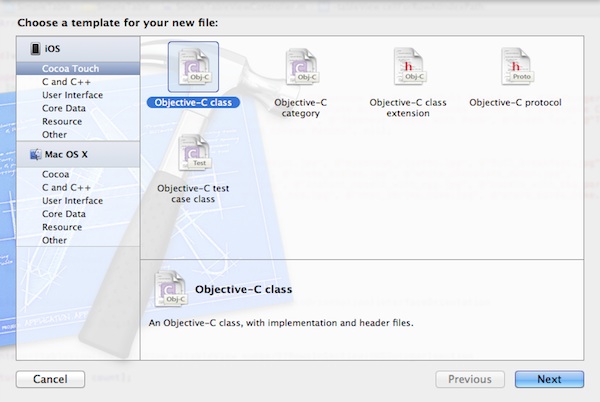
Chọn “Objective-C class” dưới “Cocoa Touch” và click “Next”.
Điền vào “SimpleTableCell” các mục class name và chọn “UITableViewCell” cho option của “Subclass of”.
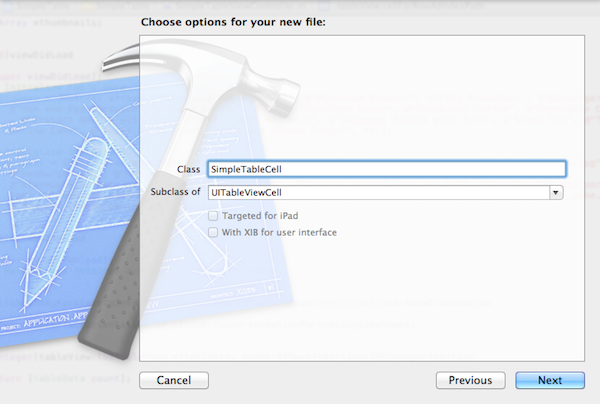
Click “Next”, lưu file trong SimpleTable project folder và click “Create” để tiếp tục. Xcode sẽ tạo 2 files tên là “SimpleTableCell.h” và “SimpleTableCell.m” trong Project Navigator.
Như đã nói ở trên, SimpleTableCell class sẽ hoạt động như là data model của custom cell. Trong cell, chúng ta có 3 values có thể thay đổ được giá trị: thumbnail image, name label và time label. Trong class, chúng ta sẽ add 3 thược tính để thể hiện giá trị động.
Mở “SimpleTableCell.h” và add những dòng sau vào trước dòng“@end” :
@property (nonatomic, weak) IBOutlet UILabel *nameLabel;
@property (nonatomic, weak) IBOutlet UILabel *prepTimeLabel;
@property (nonatomic, weak) IBOutlet UIImageView *thumbnailImageView;
Mở “SimpleTableCell.m” và add những dòng sau vào trước dòng “@implementation SimpleTableCell”:
@synthesize nameLabel = _nameLabel;
@synthesize prepTimeLabel = _prepTimeLabel;
@synthesize thumbnailImageView = _thumbnailImageView;
Tạo Connections
Save thay đổi và chọn “SimpleTableCell.xib” để về Interface Builder. Bây giờ chúng ta sẽ tạo connection giữa thuộc tính của class và Label/ImageView được tạo trong Interface.
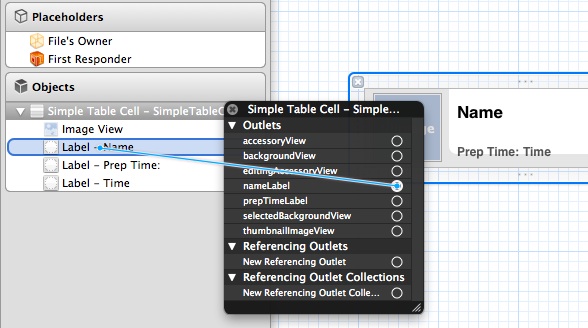
Chọn cell và thay class “SimpleTableCell” trong “Identity Inspector”.
Click vào “SimpleTableCell” dưới “Objects” để hiển thị “Outlets” . Click và giữ “nameLabel”, drag đến “Label – Name” object. Xcode sẽ tự động thiết lập connection.
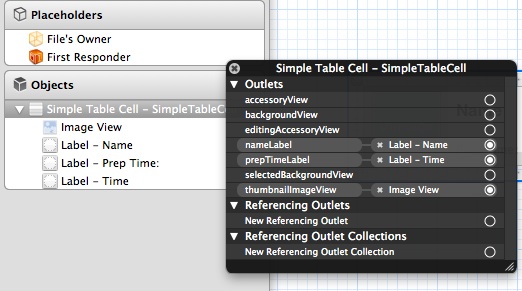
Lặp lại bước trên cho “prepTimeLabel” và “thumbnailImageView”:
- Kết nối “prepTimeLabel” với “Label – Time” object
- Kết nối “thumbnailImageView” với “ImageView” object Sau khi đã tạo hết connections, nó sẽ trong như thế này :
Updating SimpleTableViewController
Xem lại phần “SimpleTableView.m” .
- (UITableViewCell *)tableView:(UITableView *)tableView cellForRowAtIndexPath:(NSIndexPath *)indexPath
{
    static NSString *simpleTableIdentifier = @“SimpleTableItem”;

    UITableViewCell *cell = [tableView dequeueReusableCellWithIdentifier:simpleTableIdentifier];

    if (cell == nil) {
        cell = [[UITableViewCell alloc] initWithStyle:UITableViewCellStyleDefault reuseIdentifier:simpleTableIdentifier];
    }

    cell.textLabel.text = [tableData objectAtIndex:indexPath.row];
    cell.imageView.image = [UIImage imageNamed:[thumbnails objectAtIndex:indexPath.row]];

    return cell;
}
Chúng ta sử dụng default table view cell (i.e. UITableViewCell) để show ra the table items. Để sử dụng custom table cell, chúng ta phải thay đổi “SimpleTableView.m” nhu dưới đây:
- (UITableViewCell *)tableView:(UITableView *)tableView cellForRowAtIndexPath:(NSIndexPath *)indexPath
{
    static NSString *simpleTableIdentifier = @“SimpleTableCell”;

    SimpleTableCell *cell = (SimpleTableCell *)[tableView dequeueReusableCellWithIdentifier:simpleTableIdentifier];
    if (cell == nil)
    {
        NSArray *nib = [[NSBundle mainBundle] loadNibNamed:@“SimpleTableCell” owner:self options:nil];
        cell = [nib objectAtIndex:0];
    }

    cell.nameLabel.text = [tableData objectAtIndex:indexPath.row];
    cell.thumbnailImageView.image = [UIImage imageNamed:[thumbnails objectAtIndex:indexPath.row]];
    cell.prepTimeLabel.text = [prepTime objectAtIndex:indexPath.row];

    return cell;
}
Để “SimpleTableViewController” biết được “SimpleTableCell”, chúng ta phải import “SimpleTableCell.h” vào “SimpleTableViewController.m”.

Import “SimpleTableCell.h”, “SimpleTableViewController” sẽ sử dụng nó.
Cuối cùng thay độ cao của table cell về 78, chèn đoạn code dưới đây trước dòng “@end”.
- (CGFloat)tableView:(UITableView *)tableView heightForRowAtIndexPath:(NSIndexPath *)indexPath

{
    return 78;
}
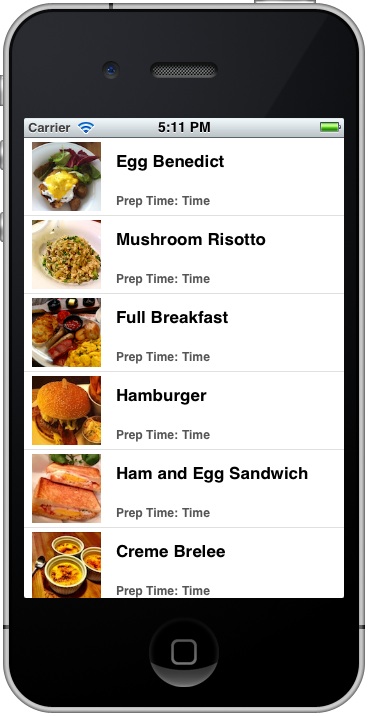
Click RUN và SimpleTable app sẽ như thế này
Source : http://www.appcoda.com/customize-table-view-cells-for-uitableview/
All rights reserved
