Chèn ảnh trong vue-multiselect
Bài đăng này đã không được cập nhật trong 6 năm
I. Chèn ảnh trong vue-multiselect.
Thẻ select dùng để lựa chọn, ở khía cạnh nào đó nó giống với radio button, nhưng điểm khác biệt là select có kiểu dáng dạng drop-down menu (xổ xuống). Thẻ này có nhiều hạn chế đặc biệt trong đó là không nhận thẻ img trong option khiến việc thêm ảnh vào thẻ này trở lên khá khó khăn. Có một số cách như dùng thuộc tính background của css nhưng cách phổ biến nhất người ta hay dùng là sử dụng jquery.
- Link jquery chèn ảnh trong select option: http://www.devirtuoso.com/2009/08/styling-drop-down-boxes-with-jquery/
- Bài này mình nói về vue.js nên mình xin giới thiệu một module vue-multiselect để mọi chuyện trở lên dễ dàng hơn.
II. Cài đặt vue-multiselect.
- Trước hết để sử dụng được multiselect thì các bạn cần cài đặt nó cách cài thì các bạn có thể xem trên doc và làm theo hướng dẫn cho nhanh nhé.
- Doc: https://vue-multiselect.js.org/
- Cách cài đặt thì mọi người xem tại đây nhé: https://www.npmjs.com/package/vue-multiselect
- Rất chi tiết và đơn giản mọi người chạy npm và import theo hướng dẫn ở link trên là ok.
III. Bắt đầu.
1. Tạo file
- tạo file với tên Demo.vue. Mình thì tạo folder views trong src và tạo file Demo.vue trong đấy. (đường dẫn src/views/Demo.vue)
2. Sử lý router.
- Trong file index.js trong folder router bạn thêm 1 router mới như sau.
import Vue from 'vue'
import Router from 'vue-router'
import Multiselect from '@/views/Demo'

Vue.use(Router)

const router = new Router({
  mode: 'history',
  routes: [
    {
      path: '/multiselect',
      name: 'Multiselect',
      component: Multiselect
    }
  ]
})
3. Import multiselect.
- Trong file Demo.vue bạn import vue-multiselect vào.
<template>
  <div>
    <h1 style="color:white">Chèn ảnh vào multiselect</h1>
  </div>
</template>

<script>
import Multiselect from 'vue-multiselect'

export default {
  data () {
    return {
      value: null,
      options: []
    }
  },

  components: {
    Multiselect
  }
}
</script>
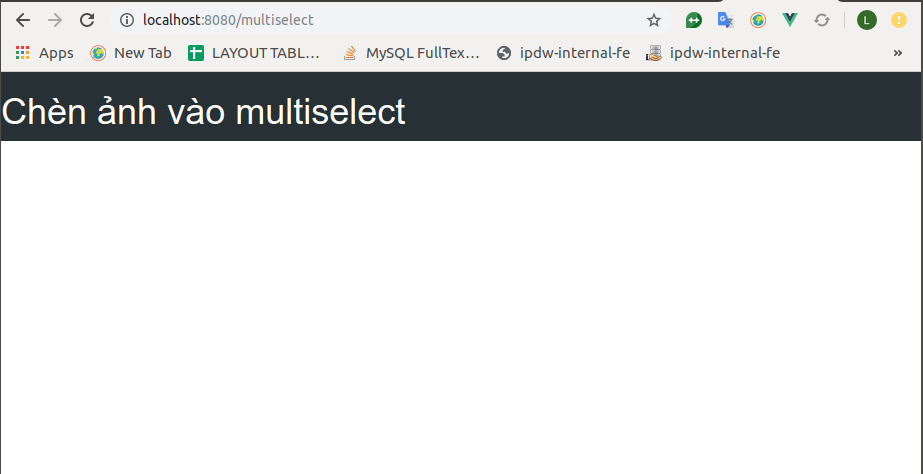
- Chạy thử lên chúng ta sẽ được thế này:
![]()
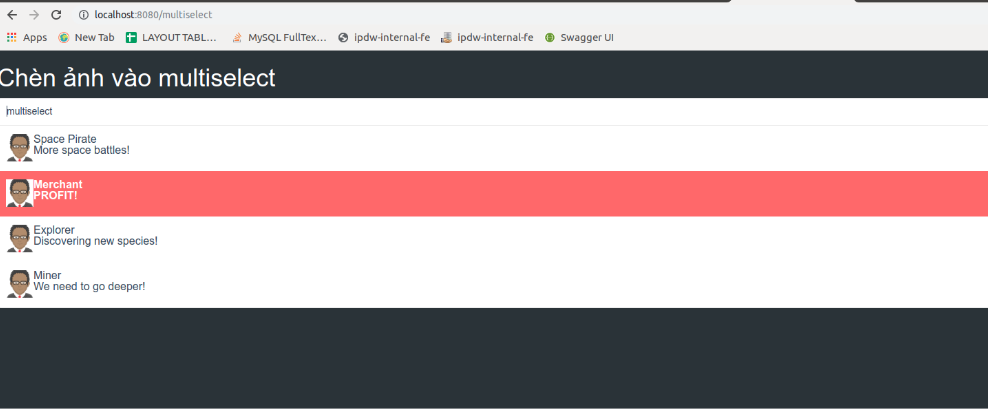
4. Chèn ảnh.
- Cái này thì cũng khá đơn giản. Bạn chỉ cần chèn template của mình vào thằng module multiselect là được. Hầu hết các module của vue đều cho phép chúng ta sửa lại template của chính họ để người dùng có cái nhìn thoải mái hơn khi sử dụng. Tương tự bạn có thể tùy chỉnh template của multiselect để phù hợp với nhu cầu của chính mình.
<template>
  <div style="width: 100%; height: 500px">
    <h1 style="color:white">Chèn ảnh vào multiselect</h1>
      <multiselect
      v-model="value"
      :placeholder="multiselect"
      label="title" track-by="title"
      :options="options"
      :option-height="100"
      :show-labels="false">
      <template slot="singleLabel" slot-scope="props">
        <div>
          <img class="option__image" :src="props.option.img" style="width:40px; height:40px">
          <span class="option__desc">
            <span class="option__title"><a>{{ props.option.title }}</a></span>
          </span>
        </div>
      </template>
      <template slot="option" slot-scope="props">
        <img class="option__image pull-left" :src="props.option.img" style="width:40px; height:40px">
        <div class="option__desc pull-left">
          <span class="option__title">{{ props.option.title }}</span>
          <p class="option__small">{{ props.option.desc }}</p>
        </div>
        <div class="both-risk"></div>
      </template>
    </multiselect>
  </div>
</template>

<script>
import Multiselect from 'vue-multiselect'

export default {
  data () {
    return {
      value: { title: 'Explorer', desc: 'Discovering new species!', img: 'static/images/avatar.png' },
      options: [
        { title: 'Space Pirate', desc: 'More space battles!', img: 'static/avatar.png' },
        { title: 'Merchant', desc: 'PROFIT!', img: 'static/avatar.png' },
        { title: 'Explorer', desc: 'Discovering new species!', img: 'static/avatar.png' },
        { title: 'Miner', desc: 'We need to go deeper!', img: 'static/avatar.png' }
      ]
    }
  },

  components: {
    Multiselect
  }
}
</script>
5. Kết quả.
6. Lưu ý.
- Việc gọi ảnh trong vue có đôi chút khác biệt khi bạn gọi trực tiếp và gián tiếp.
- Cách gọi ảnh bạn có thể tham khảo ở đây nhé: https://stackoverflow.com/questions/42793292/how-to-load-image-and-other-assets-in-angular-an-project
IV. Kết luận.
- Như vậy mình đã giới thiệu xong cách chèn ảnh vào trong thẻ multiselect rùi, khá là đơn giản. Với các thẻ select của html bạn cũng có thể thêm ảnh theo kiểu thêm icon như linh hướng dẫn sau: https://mdbootstrap.com/docs/jquery/forms/multiselect/
All rights reserved
