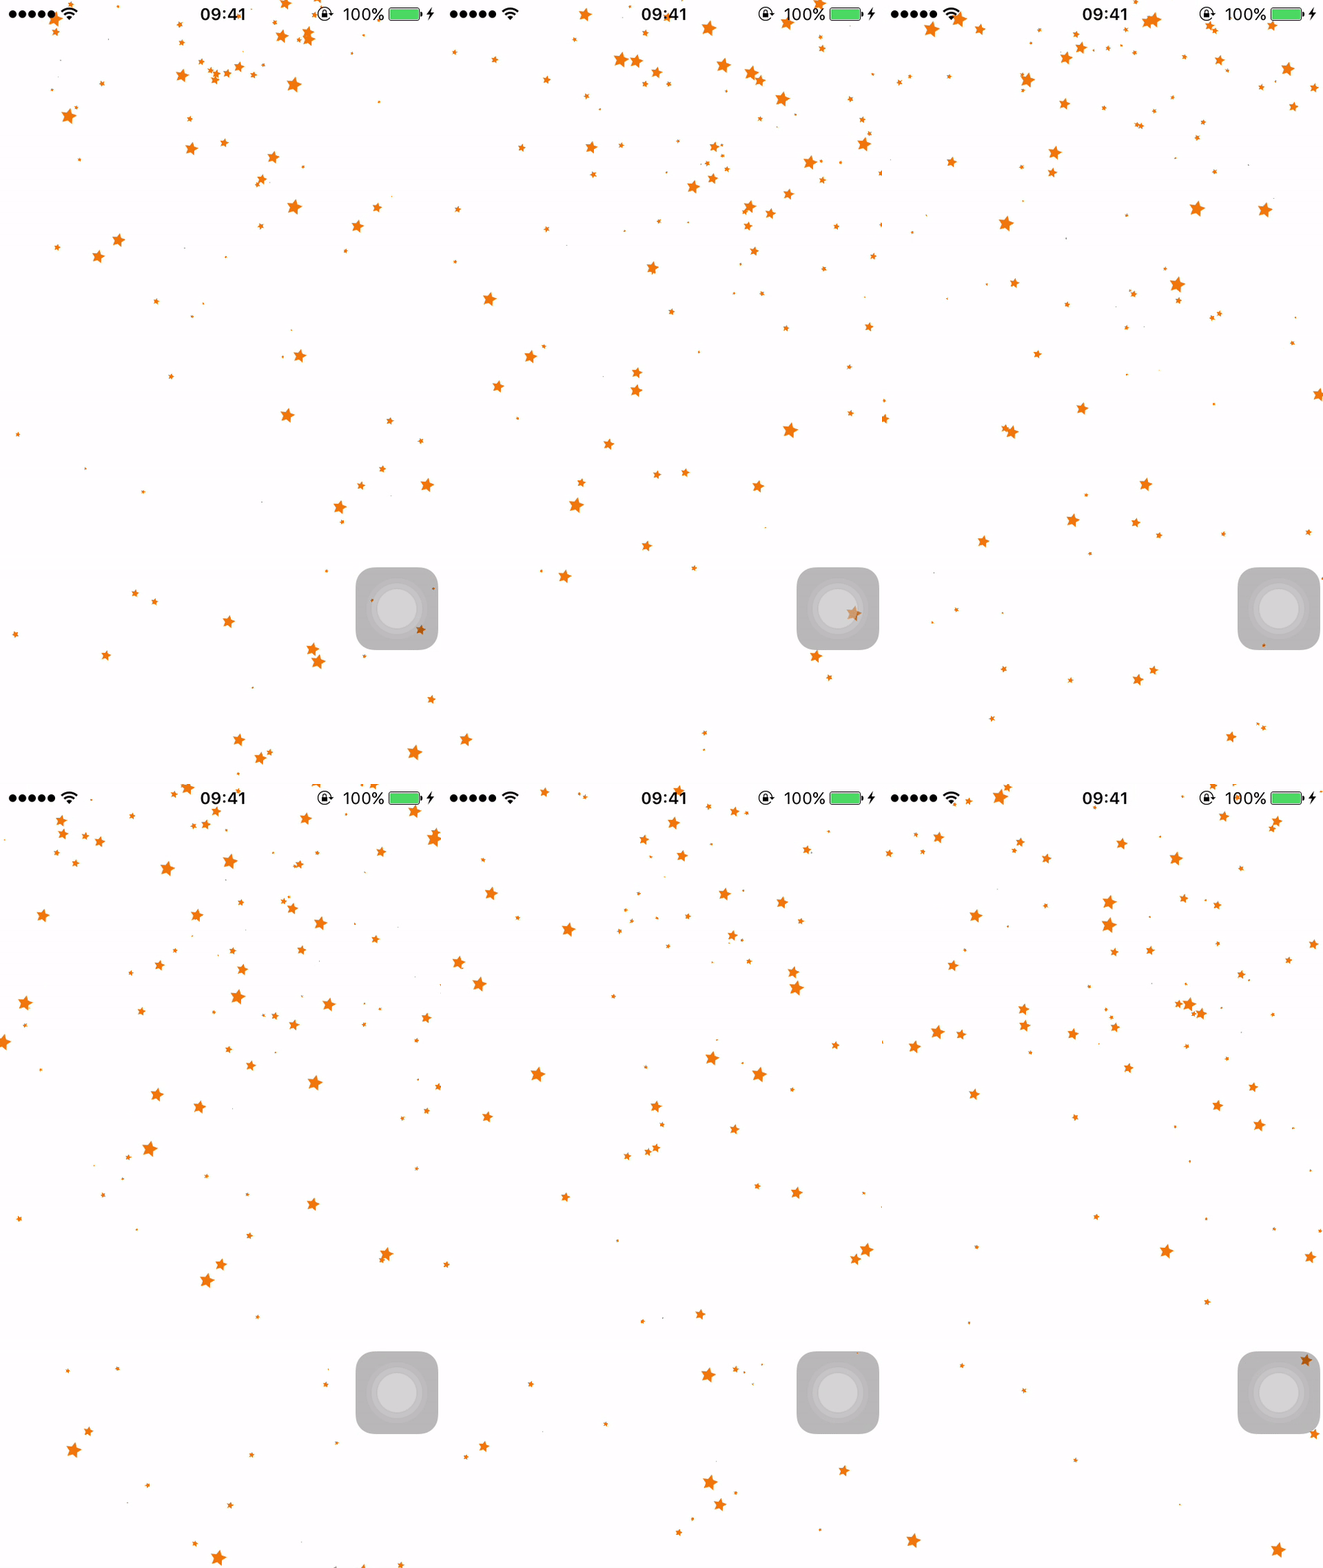
CAEmitterLayer - Creating realtime particle animations
Bài đăng này đã không được cập nhật trong 4 năm

Mở đầu
Khi nhìn thấy animation ở trên, không ít bạn sẽ bỡ ngỡ, không biết sẽ làm như thế nào? hay có library nào support không. Sau khi tìm hiểu về Core animation mình tìm thấy một class rất hữu ích, đơn giản mà hiệu quả để giải quyết vấn đề trên. Đó chính là CAEmitterLayer
CAEmitterLayer: Là một container chứa CAEmitterCell instances. Mỗi CAEmitterCell object phục vụ như một template cho một hạt (hạt ở đây các bạn có thể hiểu là một Star như trong hình trên). Và CAEmitterLayer chịu trách nhiệm khởi tạo một dòng các hạt dựa trên các template này.
Thực hiện
1. Tạo CAEmitterLayer object:
        let emitterLayer = CAEmitterLayer()
        emitterLayer.emitterPosition = CGPoint(x: self.view.bounds.size.width / 2, y: self.view.bounds.origin.y)
        emitterLayer.emitterSize = CGSize(width: self.view.bounds.size.width, height: 0)
        emitterLayer.emitterShape = kCAEmitterLayerLine
        self.view.layer.addSublayer(emitterLayer)
- emitterPosition: set vị trí center của emission shape.
- emitterSize: set kích thước của emission shape.
- emitterShape: Hình dạng của emission shape: kCAEmitterLayerPoint, kCAEmitterLayerLine, kCAEmitterLayerRectangle, kCAEmitterLayerCuboid, kCAEmitterLayerCircle, kCAEmitterLayerSphere.
2. Tạo template CAEmitterCell:
        let emitterCell = CAEmitterCell()
        emitterCell.contents = UIImage(named: "ylstar")?.cgImage
        emitterCell.color = UIColor(red: 1.0, green: 0.5, blue: 0.1, alpha: 1).cgColor
- emitterCell.contents: Filling cell bằng image ylstar.png (star - màu vàng)
- emitterCell.color: Thay đổi color cho cell. (Thay đổi color cho image star)
3.Control các thuộc tính animation cho cells
       emitterCell.scale = 0.1
       emitterCell.scaleRange = 0.5
       emitterCell.emissionRange = CGFloat(M_PI)
       emitterCell.lifetime = 5.0
       emitterCell.birthRate = 100
       emitterCell.velocity = 200
       emitterCell.velocityRange = 50
       emitterCell.yAcceleration = 250
- emitterCell.scale - emitterCell.scaleRange: Các cells (star) sẽ xuất hiện với kích thước scale từ 0.1 -> 0.5. Nếu không muốn các star có kích thước khác nhau thì các bạn không cần set các properties này.
- emitterCell.emissionRange: Một góc (radian) để xác định một hình nón bao quanh emission angle.
- emitterCell.lifetime: Thời gian tồn tại của cells (star).
- emitterCell.birthRate: Mật độ xuất hiện của các cells (star).
- emitterCell.velocity: Vận tốc ban đầu của các cells (star).
- emitterCell.velocityRange: Range vận tốc có thể thay đổi.
- emitterCell.yAcceleration: Vector gia tốc.
4. Add cells vào Layer
emitterLayer.emitterCells = [emitterCell]
Có thể tạo nhiều CAEmitterCell() để add vào emitterLayer.
5. Run và xem kết quả
Kết luận
Như vậy để tạo các realtime particle animations như mưa, lửa, pháo hoa ... chúng ta có thể dùng CAEmitterLayer rất đơn giản và nhanh chóng.
Hy vọng bài viết có ích với các bạn. Thanks.
All rights reserved
