Cách upload hình ảnh spring boot 3 lên cloudinary
Bước 1: Chúng ta cần tạo một dự án Spring Boot
Bước 2: Add thêm dependacy Cloudinary Apache HTTP 4.4 Library tại file pom.xml như bên dưới:
<dependency>
	<groupId>com.cloudinary</groupId>
	<artifactId>cloudinary-http44</artifactId>
	<version>1.33.0</version>
</dependency>
Bước 3: Config Cloudinary như bên dưới:
@Bean
    public Cloudinary getCloudinary(){
        Map config = new HashMap();
        config.put("cloud_name", "");
        config.put("api_key", "");
        config.put("api_secret", "");
        config.put("secure", true);
        return new Cloudinary(config);
    }
Bước 4: Tạo một file Service ở trong dự án
@Service
@RequiredArgsConstructor
public class CloudinaryService {

    private final Cloudinary cloudinary;

    public Map upload(MultipartFile file)  {
        try{
            Map data = this.cloudinary.uploader().upload(file.getBytes(), Map.of());
            return data;
        }catch (IOException io){
            throw new RuntimeException("Image upload fail");
        }
    }
}
Bước 5: Tạo một file Controller để tạo ra một API thực hiện upload image
@RestController
@RequestMapping("/cloudinary/upload")
@RequiredArgsConstructor
public class CloudinaryImageUploadController {

    private final CloudinaryService cloudinaryService;

    @PostMapping
    public ResponseEntity<Map> uploadImage(@RequestParam("image")MultipartFile file){
        Map data = this.cloudinaryService.upload(file);
        return new ResponseEntity<>(data, HttpStatus.OK);
    }
}
Bước 6: Thực hiện Demo
- Tạo một request method post ở trên Postman
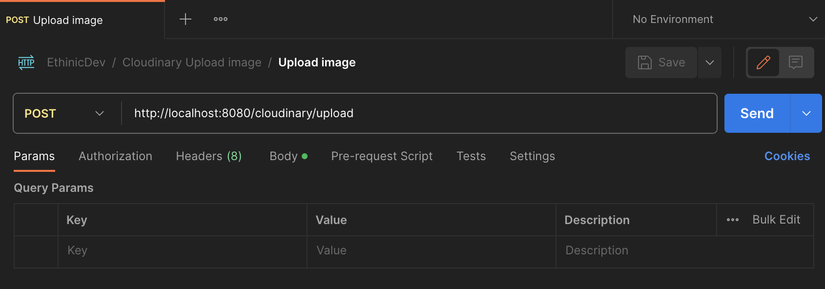
- Nhấn vào Body
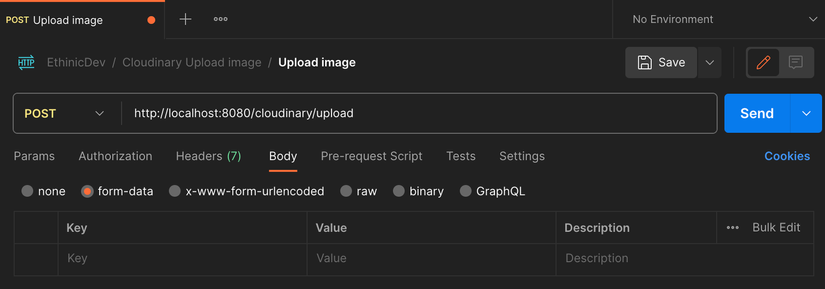
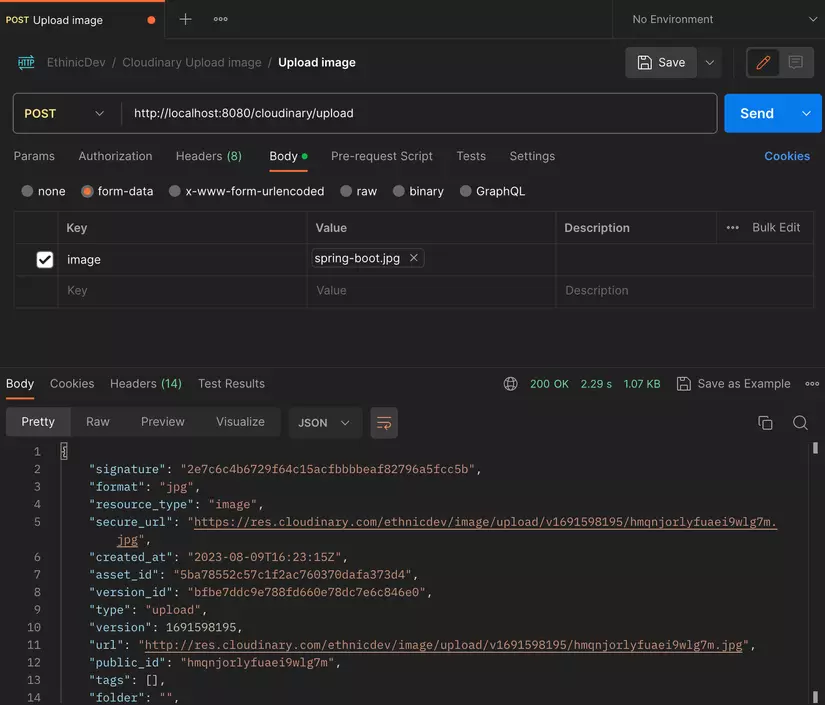
- Nhấn vào key chọn data type là “file” và nhập key có tên là “image”
- Upload ảnh từ máy tính cá nhân

- Bấm Send để gọi API (Trước khi bấm gửi ta sẽ confirm ở cloudianry chưa có hình ảnh)

- Ta có reponse như bên dưới
- Confirm ở Cloudinary
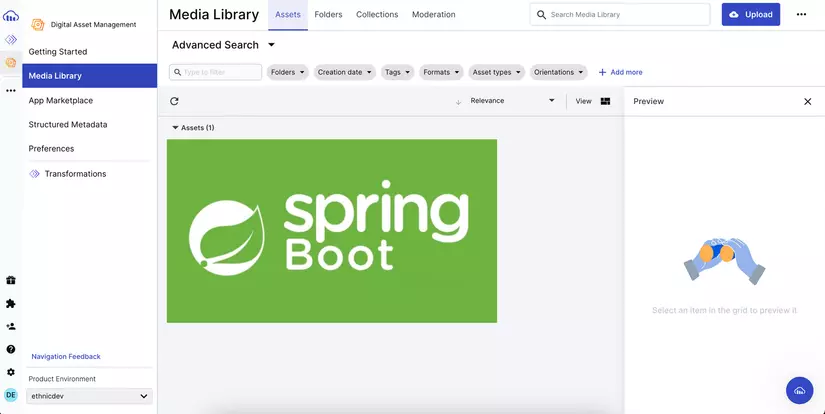
- Copy url lên trên trình duyệt

Chúc các bạn thực hiện thành công nhá.All rights reserved
