5 Extension hữu ích cho việc lập trình iOS
Bài đăng này đã không được cập nhật trong 6 năm
Bài viết này sẽ giới thiệu cho bạn một vài extension rất hữu ích trong quá trình làm việc của bạn.
Hãy đưa các đoạn code này vào project của bạn và thử nghiệm 
1. UIColor
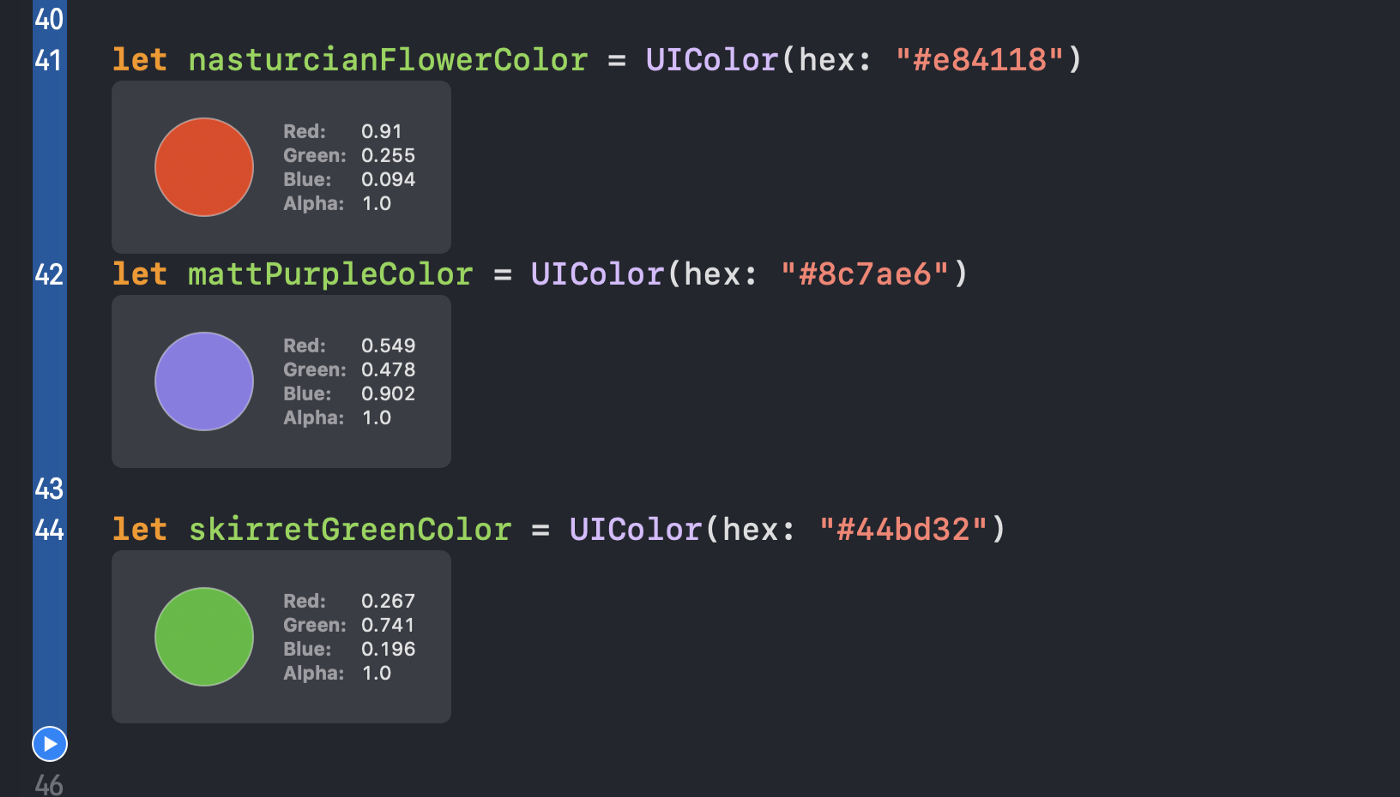
Nếu như bạn muốn sử dụng màu dạng mã hex để khởi tạo UIColor chưa ? Đoạn code dưới đây sẽ giúp bạn làm điều đó dễ dàng hơn:
extension UIColor {
    convenience init?(hex: String) {
        var hexSanitized = hex.trimmingCharacters(in: .whitespacesAndNewlines)
        hexSanitized = hexSanitized.replacingOccurrences(of: "#", with: "")

        var rgb: UInt64 = 0

        var r: CGFloat = 0.0
        var g: CGFloat = 0.0
        var b: CGFloat = 0.0
        var a: CGFloat = 1.0

        let length = hexSanitized.count

        guard Scanner(string: hexSanitized).scanHexInt64(&rgb) else { return nil }

        if length == 6 {
            r = CGFloat((rgb & 0xFF0000) >> 16) / 255.0
            g = CGFloat((rgb & 0x00FF00) >> 8) / 255.0
            b = CGFloat(rgb & 0x0000FF) / 255.0

        } else if length == 8 {
            r = CGFloat((rgb & 0xFF000000) >> 24) / 255.0
            g = CGFloat((rgb & 0x00FF0000) >> 16) / 255.0
            b = CGFloat((rgb & 0x0000FF00) >> 8) / 255.0
            a = CGFloat(rgb & 0x000000FF) / 255.0

        } else {
            return nil
        }

        self.init(red: r, green: g, blue: b, alpha: a)
    }
}
Và đây là kết quả mà bạn mong muốn
2. UISearchBar
Có khi nào bạn cần sử dụng đến textField trong Search bar chưa ? Với iOS 13 thì bạn có thể dễ dàng làm việc này bằng cách
print(searchBar.searchTextField)
Tuy nhiên, nếu bạn sử dụng các iOS thấp hơn, ứng dụng sẽ bị crash. Chúng ta cần làm như sau :
for view: UIView in (searchBar.subviews[0]).subviews {
    if let textField = view as? UITextField {
        return textField
    }
}
Để dễ dàng cho việc sử dụng thì hãy tạo một extension cho UISearchBar như sau:
extension UISearchBar {

    var textField : UITextField? {
        if #available(iOS 13.0, *) {
            return self.searchTextField
        } else {
            // Fallback on earlier versions
            for view: UIView in (self.subviews[0]).subviews {
                if let textField = view as? UITextField {
                    return textField
                }
            }
        }
        return nil
    }
}
và bây giờ bạn dễ dàng có thể truy cập vào TextField của UISearchBar
3. UIImage
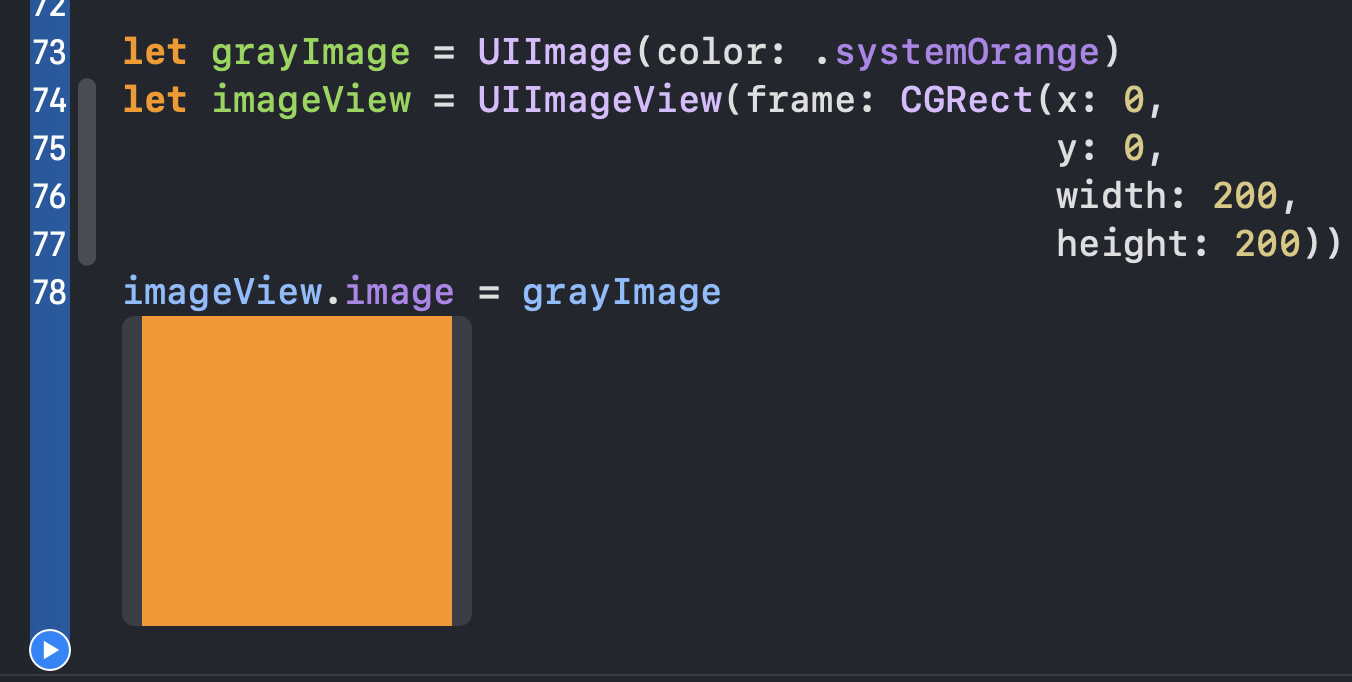
Đôi khi bạn muốn hiển thị placeholder cho UIImageView, nhưng bạn cần cung cấp một giá trị cụ thể cho nó. Chúng ta có thể tạo một UIimage từ 1 màu sắc cụ thể
extension UIImage {
   convenience init?(color: UIColor, size: CGSize = CGSize(width: 1, height: 1)) {
       let rect = CGRect(origin: .zero, size: size)
       UIGraphicsBeginImageContextWithOptions(rect.size, false, 0.0)
       color.setFill()
       UIRectFill(rect)
       let image = UIGraphicsGetImageFromCurrentImageContext()
       UIGraphicsEndImageContext()

       guard let cgImage = image?.cgImage else { return nil }
       self.init(cgImage: cgImage)
   }
}
Điều này cho phép bạn khởi tạo 1 UIImage từ 1 màu cụ thể
4. Numeric
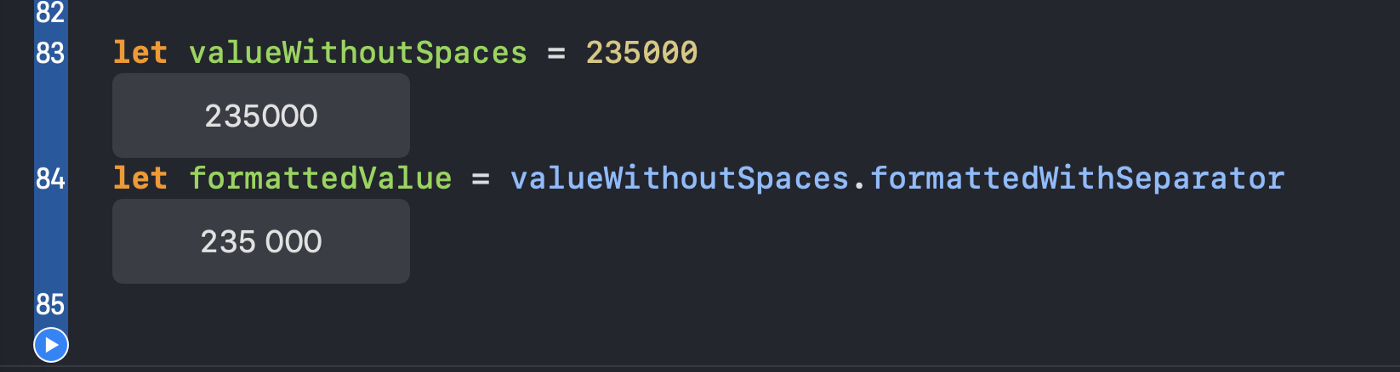
Nhiều khi chúng ta cần hiển thị giá trong ứng dụng của mình. Nhưng giá không có khoảng cách thì sẽ không đẹp chút nào, chúng ta nên thêm các phân cách giữa hàng nghìn với nhau.
Đoạn code sau sẽ giúp bạn làm điều đó một cách đơn giản:
extension Numeric {
  var formattedWithSeparator: String {
      let formatter = NumberFormatter()
      formatter.groupingSeparator = " "
      formatter.numberStyle = .decimal
      return formatter.string(for: self) ?? String(describing: self)
  }
}
Hãy xem kết quả
5. UITableViewCell and UICollectionViewCell
Khi làm việc với TableView hay CollectionView thì bạn sẽ thường viết đoạn code như sau:
let cellId = "CellIdentifier"

let tableView: UITableView = {
  let tableView = UITableView()
  tableView.register(UITableViewCell.self, forCellReuseIdentifier: cellId)
  tableView.dataSource = self
  return tableView
}()

func tableView(_ tableView: UITableView, cellForRowAt indexPath: IndexPath) -> UITableViewCell {
  let cell = tableView.dequeueReusableCell(withIdentifier: cellId)!
  return cell
}
Bạn có thể thấy là chúng ta cần khởi tạo 1 thuộc tính là cellId. Nhưng làm thế nào có thể làm cho code này trở nên ngắn gọn hơn. Hãy tham khảo extension dưới đây
protocol ReuseIdentifiable {
    static func reuseIdentifier() -> String
}

extension ReuseIdentifiable {
    static func reuseIdentifier() -> String {
        return String(describing: self)
    }
}

extension UITableViewCell: ReuseIdentifiable {}
extension UICollectionViewCell: ReuseIdentifiable {}
Giờ đây bạn có thể sử dụng reuseIdentifier để định nghĩa các cell
let tableView: UITableView = {
  let tableView = UITableView()
  tableView.register(UITableViewCell.self, forCellReuseIdentifier: UITableViewCell.reuseIdentifier())
  tableView.dataSource = self
  return tableView
}()

func tableView(_ tableView: UITableView, cellForRowAt indexPath: IndexPath) -> UITableViewCell {
  let cell = tableView.dequeueReusableCell(withIdentifier: UITableViewCell.reuseIdentifier())!
  return cell
}
Mong rằng bài viết sẽ giúp ích cho bạn trong quá trình code.
Nguồn tham khảo:
https://medium.com/better-programming/5-useful-swift-extensions-to-use-in-your-ios-app-f54a817ea9a9
All rights reserved
