Hướng dẫn tạo project đầu tiên bằng java spring
Bài đăng này đã không được cập nhật trong 2 năm
I. Giới thiệu Java Spring
1. Khái niệm
-
Spring Framework, hay ngắn hơn là Spring, là một cấu trúc dùng để xây dựng chương trình ứng dụng mã nguồn mở dành cho ngôn ngữ lập trình Java
-
Spring Framework không bắt buộc người ta phải tuân theo một mô hình lập trình (programming model) cụ thể nào, song nó lan truyền rộng rãi trong cộng đồng những người viết chương trình dùng Java, như một hình thức chủ yếu thay thế cho mô hìnhEnterprise JavaBean. Theo thiết kế, bộ khung hình này giải phóng lập trình viên dùng Java, cho phép họ nhiều quyền tự do hơn, và đồng thời cung cấp một giải pháp tiện lợi, đầy đủ dẫn chứng bằng tài liệu, dễ dàng sử dụng, phù hợp với những thực hành thông dụng trong công nghệ phần mềm.
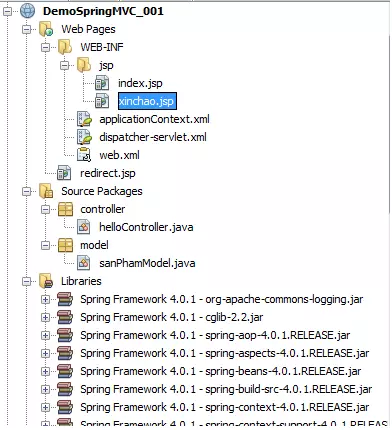
2. Cấu tạo 1 project với Java Spring
Dưới đây ta sẽ có một ví dụ về Spring MVC. Tạo một Web Project sử dụng Netbeans có cấu trúc như hình dưới đây:
II. Tạo 1 project với Java Spring
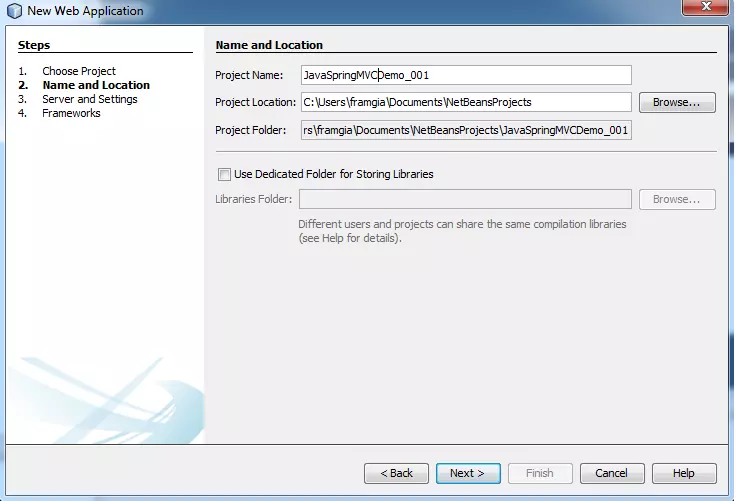
1. Tạo new project
Open netbeans >> Clicl File >> New project (hoặc bấm tổ hợp phím Ctrl + Shift + N). Lựa chọn Java Web >> Web applications, đặt tên cho project.
Lựa chọn Sever là Glassfish sever 4.1 và java EE version là: Java EE 7 web.
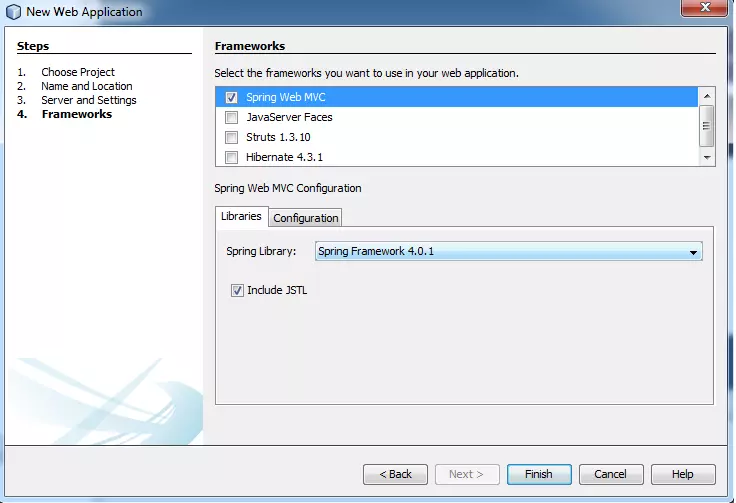
Lựa chọn framework là: Java spring web MVC.
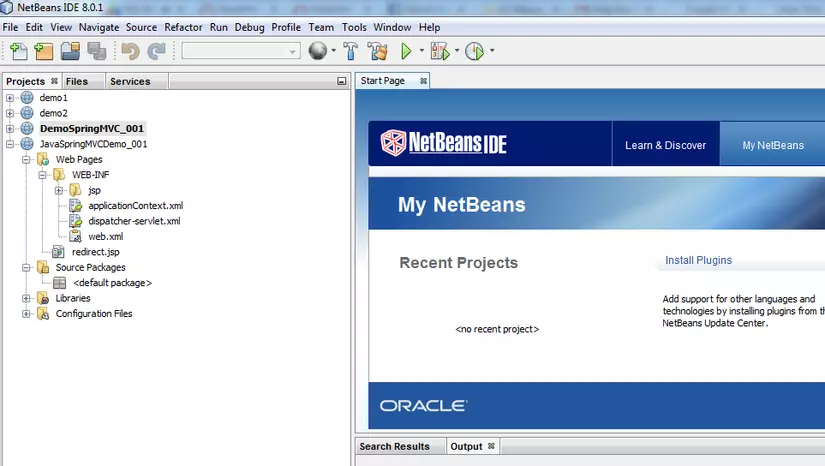
Mô hình 1 spring project được tạo bởi netbeans:
2. Cấu hình cho các file config trong project
- Cấu hình cho file web.xml
<?xml version="1.0" encoding="UTF-8"?>

<web-app version="3.1" xmlns="http://xmlns.jcp.org/xml/ns/javaee" xmlns:xsi="http://www.w3.org/2001/XMLSchema-instance" xsi:schemaLocation="http://xmlns.jcp.org/xml/ns/javaee http://xmlns.jcp.org/xml/ns/javaee/web-app_3_1.xsd">

    <context-param>

        <param-name>contextConfigLocation</param-name>

        <param-value>/WEB-INF/applicationContext.xml</param-value>

    </context-param>

    <listener>

        <listener-class>org.springframework.web.context.ContextLoaderListener</listener-class>

    </listener>

    <servlet>

        <servlet-name>dispatcher</servlet-name>

        <servlet-class>org.springframework.web.servlet.DispatcherServlet</servlet-class>

        <load-on-startup>2</load-on-startup>

    </servlet>

    <servlet-mapping>

        <servlet-name>dispatcher</servlet-name>

        <url-pattern>*.html</url-pattern>

    </servlet-mapping>

    <session-config>

        <session-timeout>

            30

        </session-timeout>

    </session-config>

    <welcome-file-list>

        <welcome-file>redirect.jsp</welcome-file>

    </welcome-file-list>

</web-app>
- Cấu hình cho file dispatcher-servlet
<?xml version='1.0' encoding='UTF-8' ?>

<!-- was: <?xml version="1.0" encoding="UTF-8"?> -->

<beans xmlns="http://www.springframework.org/schema/beans"

       xmlns:xsi="http://www.w3.org/2001/XMLSchema-instance"

       xmlns:p="http://www.springframework.org/schema/p"

       xmlns:aop="http://www.springframework.org/schema/aop"

       xmlns:tx="http://www.springframework.org/schema/tx"

       xmlns:mvc="http://www.springframework.org/schema/mvc"

       xmlns:context="http://www.springframework.org/schema/context"

       xsi:schemaLocation="http://www.springframework.org/schema/beans http://www.springframework.org/schema/beans/spring-beans-4.0.xsd

       http://www.springframework.org/schema/aop http://www.springframework.org/schema/aop/spring-aop-4.0.xsd

       http://www.springframework.org/schema/context

       http://www.springframework.org/schema/context/spring-context-4.0.xsd

       http://www.springframework.org/schema/mvc

       http://www.springframework.org/schema/mvc/spring-mvc-4.0.xsd

       http://www.springframework.org/schema/tx http://www.springframework.org/schema/tx/spring-tx-4.0.xsd">

    <bean class="org.springframework.web.servlet.mvc.support.ControllerClassNameHandlerMapping"/>

    <!-- Cau hinh su dung controller-->

    <context:component-scan base-package="controller"></context:component-scan>

    <mvc:annotation-driven />

    <!--  Most controllers will use the ControllerClassNameHandlerMapping above, but for the index controller we are using ParameterizableViewController, so we must define an explicit mapping for it. -->

    <bean id="urlMapping" class="org.springframework.web.servlet.handler.SimpleUrlHandlerMapping">

        <property name="mappings">

            <props>

                <prop key="index.html">indexController</prop>

            </props>

        </property>

    </bean>

    <bean id="viewResolver"

          class="org.springframework.web.servlet.view.InternalResourceViewResolver"

          p:prefix="/WEB-INF/jsp/"

          p:suffix=".jsp" />

    <!-- The index controller.-->

    <bean name="indexController"

          class="org.springframework.web.servlet.mvc.ParameterizableViewController"

          p:viewName="index" />

</beans>
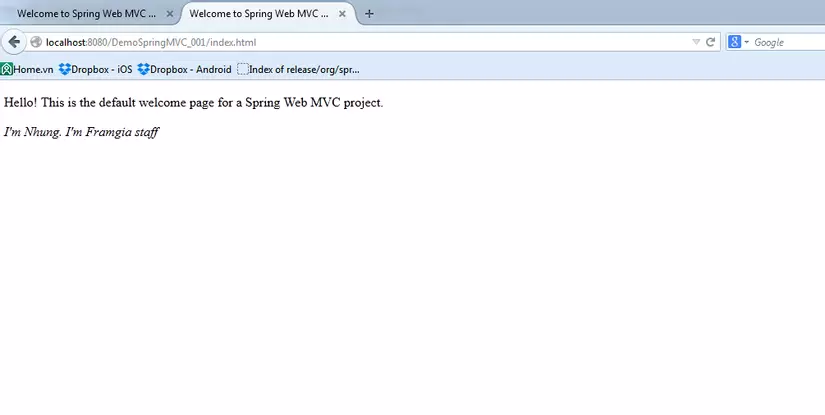
Sau khi cấu hình các file cần thiết cho project. Bạn chạy Run. The default index.html được open
3. Creat project
-
Đầu tiên tạo 1 package là controller để chứa các file controller của project.
-
Tạo 1 class helloController.java trong package controller
-
Tạo 1 file xinchao.jsp
// import class controller
@Controller
// luu dương dan chi toi controller
@RequestMapping(value="/hello")
public class helloController {
// truyen dương dan toi trang xin chao
@RequestMapping(value="/xinchao", method=RequestMethod.GET)
public String xinchao ()
{
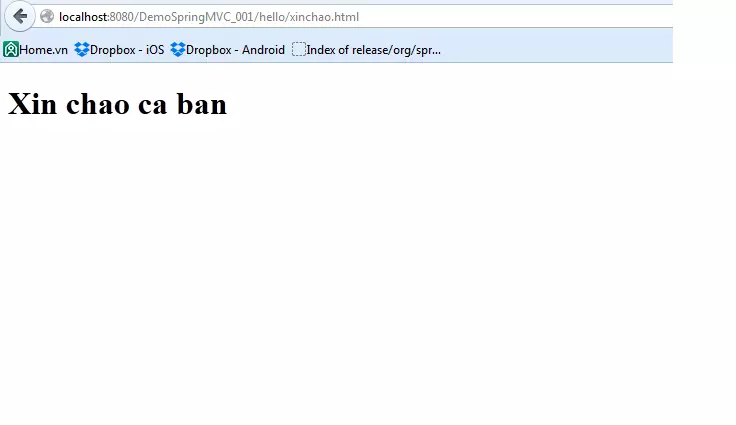
return "xinchao";
}
}
Trên url của trình duyệt ta chỉ cần trỏ tới file xinchao.jsp theo phương thức sau: hello/xinchao.html ( trong đó hello: đường dẫn chỉ tới controller hello)
- Tạo 1 package là model để chứa các file model. Tiếp đó tạo file modelSanpham để chứa thông tin sản phẩm
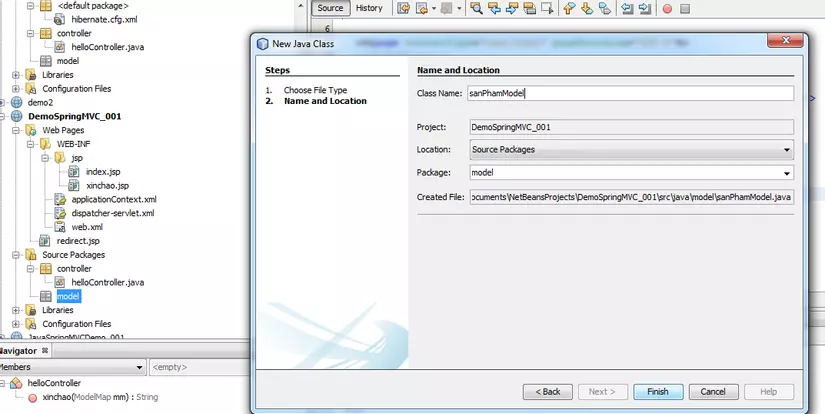
- Trong class sanPhamModel.java
package model;

/**

 *

 * @author NhungNTH

 * Tao class model chua thong tin san pham

 */

public class sanPhamModel {

    // khai bao bien

    private String masp;

    private String tensp;

    private Double gia;

    // ham tao khong tham so

    public sanPhamModel() {

    }

    // tao ham tao day de tham so cho ham sanpham

    public sanPhamModel(String masp, String tensp, Double gia) {

        this.masp = masp;

        this.tensp = tensp;

        this.gia = gia;

    }

    // tao cac ham get set cho tham so

    public String getMasp() {

        return masp;

    }

    public void setMasp(String masp) {

        this.masp = masp;

    }

    public String getTensp() {

        return tensp;

    }

    public void setTensp(String tensp) {

        this.tensp = tensp;

    }

    public Double getGia() {

        return gia;

    }

    public void setGia(Double gia) {

        this.gia = gia;

    }

}
Muốn từ controller truyền 1 đối tượng là sản phẩm đến trang view xinchao.jsp ta cần import thêm vào class helloController:
package controller;

import org.springframework.stereotype.Controller;

import org.springframework.web.bind.annotation.RequestMapping;

import org.springframework.web.bind.annotation.RequestMethod;

import org.springframework.ui.ModelMap;

import model.*;

import java.util.*;

/**

 *

 * @author NhungNTH

 * @created date 21/11/2014

 * Tao controller goi ham hello

 */

// import class controller

@Controller

// luu dương dan chi toi controller

@RequestMapping(value="/hello")

public class helloController {

    // truyen dương dan toi trang xin chao

    @RequestMapping(value="/xinchao", method=RequestMethod.GET)

    public String xinchao (ModelMap mm)

            {

                // truyen tham so modelmap toi trang view

                mm.put("a", "Nguyen Thi Hong Nhung");

                mm.put("b", 123456);

                // khai bao thong tin san pham

                mm.put("sp", new sanPhamModel("sp001","San pham 1", 10000.000));

                return "xinchao";

            }

}
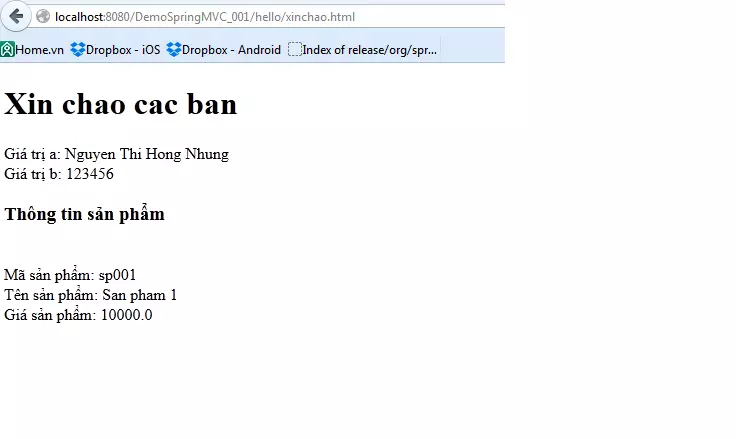
Ở trang view xinchao.jsp ta chỉ cần hiển thị thông tin sản phẩm như sau:
<html>

    <head>

        <meta http-equiv="Content-Type" content="text/html; charset=UTF-8">

        <title>JSP Page</title>

    </head>

    <body>

        <h1>Xin chao cac ban</h1>

        Giá trị a: ${a}</br>

        Giá trị b: ${b}</br>

        <h3>Thông tin sản phẩm</h3>

        </br>

        Mã sản phẩm: ${sp.masp}</br>

        Tên sản phẩm: ${sp.tensp}</br>

        Giá sản phẩm: ${sp.gia}</br>

    </body>

</html>
Reload lại trang.
Một vài ưu điểm khi sử dụng Spring framework:
-
Làm giảm đi sự phụ thuộc giữa các components khác nhau của ứng dụng, Spring IoC container làm nhiệm vụ khởi tạo resources hoặc beans và "tiêm - inject" chúng theo sự phụ thuộc khác nhau.
-
Thực hiện unit test case rất dễ bởi vì business logic của bạn không có sự phụ thuộc trực tiếp.
-
Việc thực hiện chỉ là viết test configuration và inject mock bean cho các mục đích test khác nhau.
-
Làm giảm đi khối lượng code rất nhiều, chẳng hạn như việc khởi tạo đối tượng, open/close các resources,...
-
Spring framework chia thành nhiều module riêng biệt, do đó việc sử dụng các features trong Spring framework rất tự do... Ví dụ như ứng dụng không sử dụng tính năng transaction, thì không cần thiết phải thêm dependency này vào.
-
Spring framework hỗ trợ hầu hết các tính năng của Java EE, thậm chí còn nhiều hơn nữa.
Kết luận: Spring là 1 framework mã nguồn mở rất dễ sử dụng và hỗ trợ rất tốt trong việc phát triển web.
All rights reserved
